XD1 Presentation
Color Game: Final Documentation
The color game was based on the simplicity of the game War and was used to teach players about color theory. When the game was played overall, there was some confusion about the color combinations, which was good since it allowed for a lesson to be taught about the game, which was the purpose. If I were to move forward with this game, I would focus on adding more color combinations worth more points and making the quality of the cards better.
Lighting
I wanted to keep it simple and focus on how lighting changes the feeling. I used one image and changed the lighting in 5 stages to show different moods.
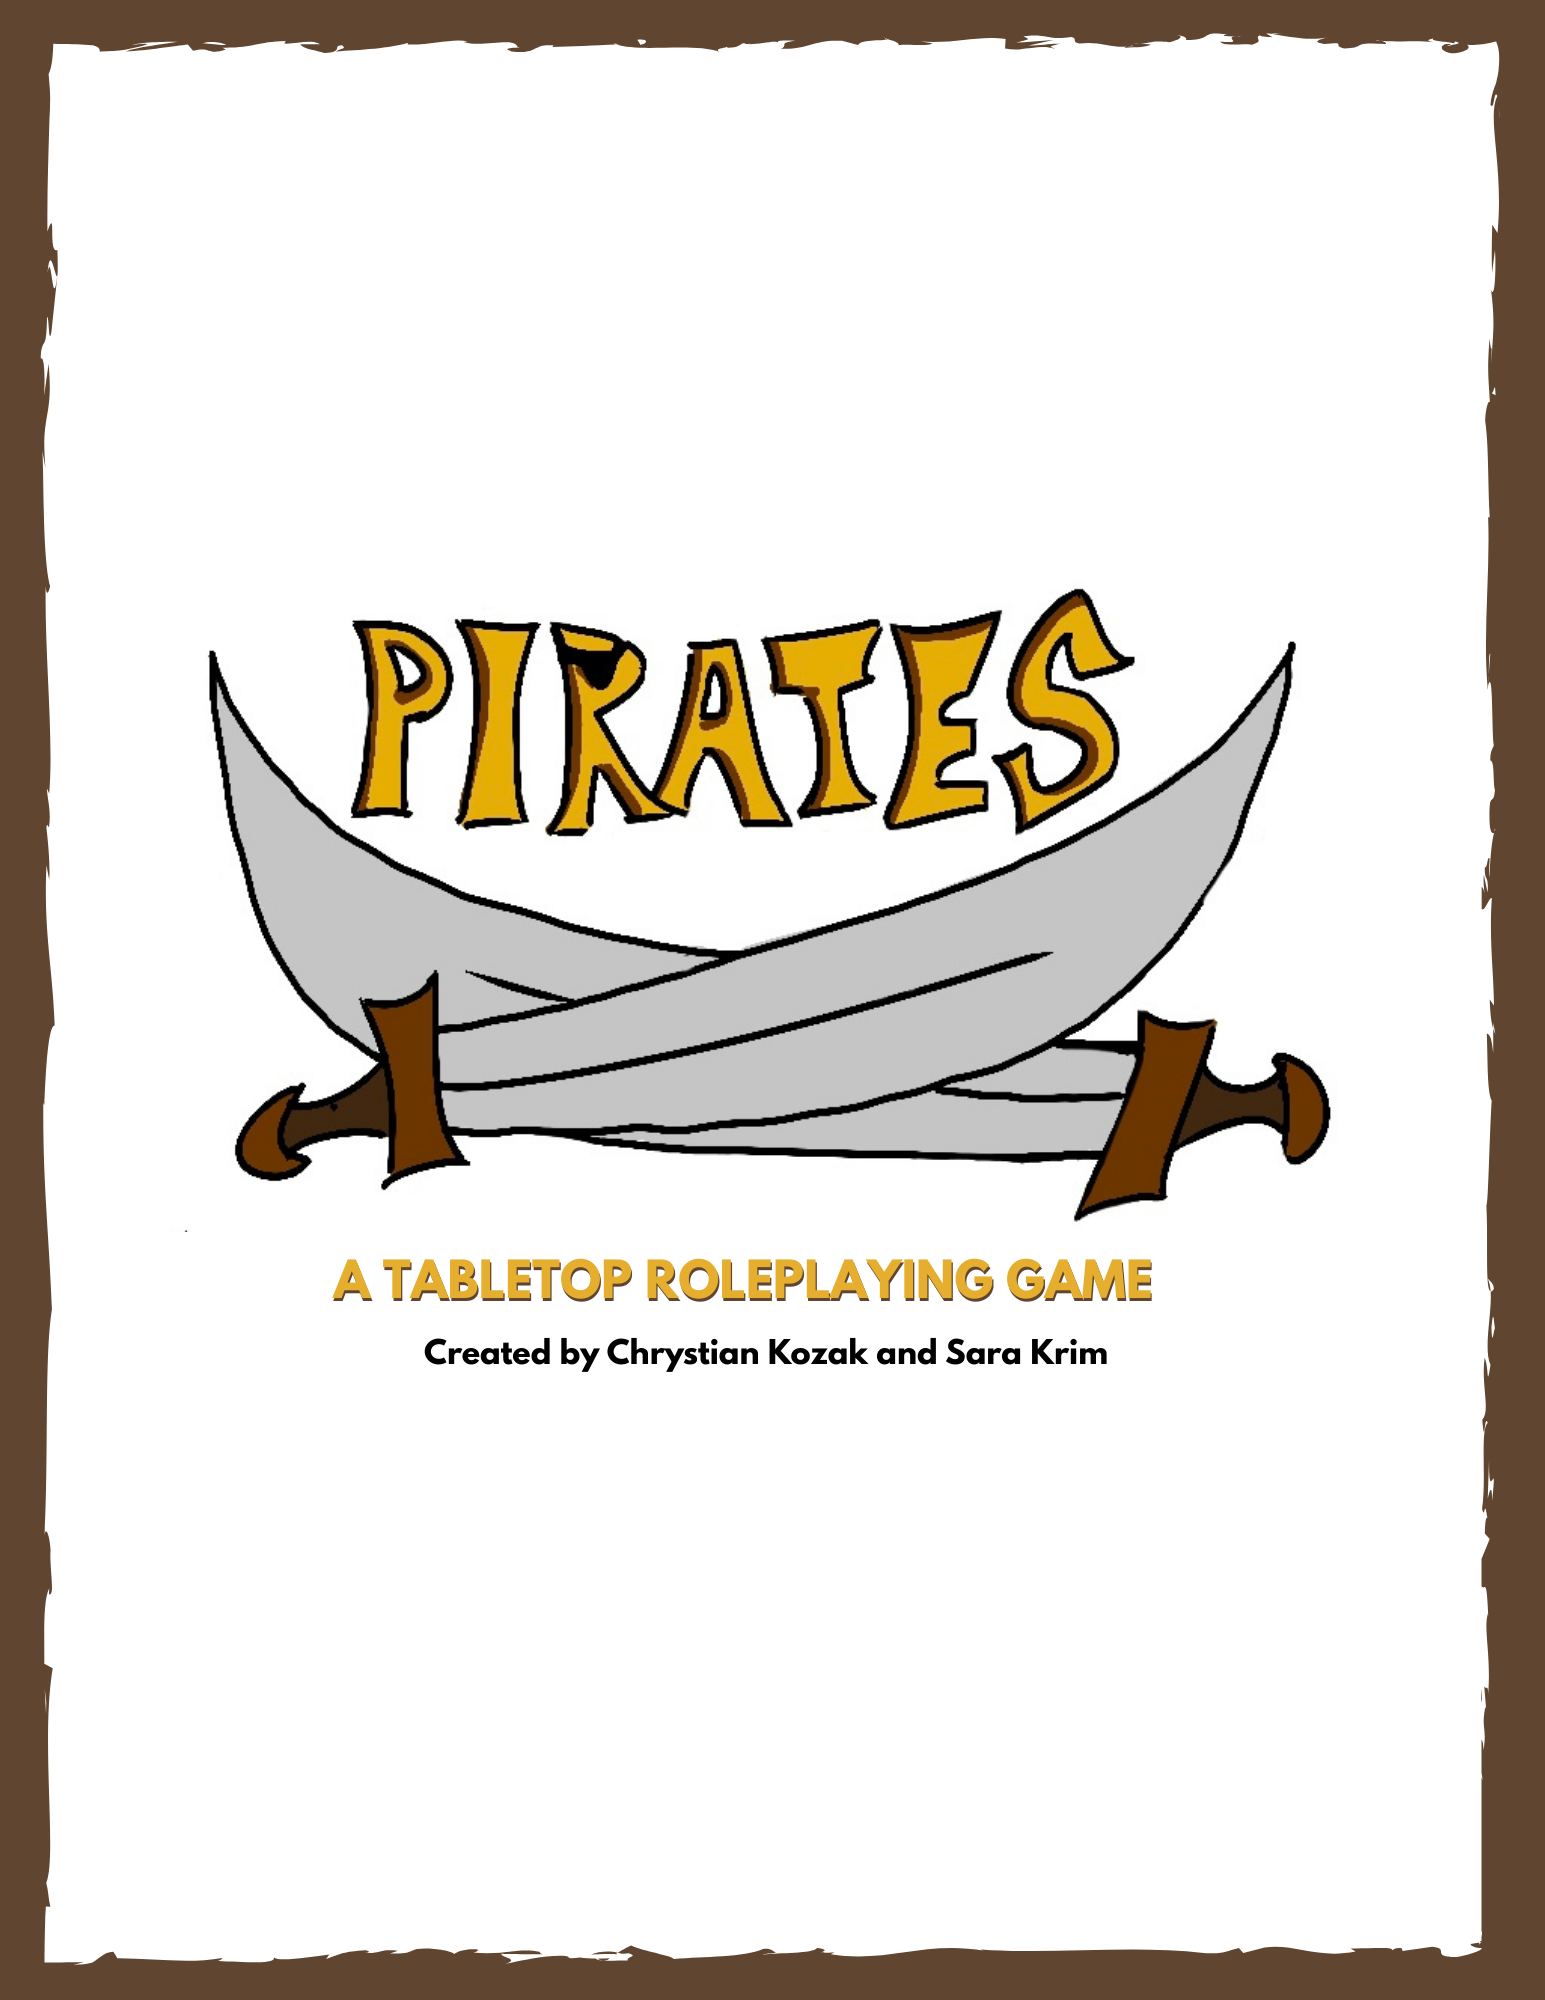
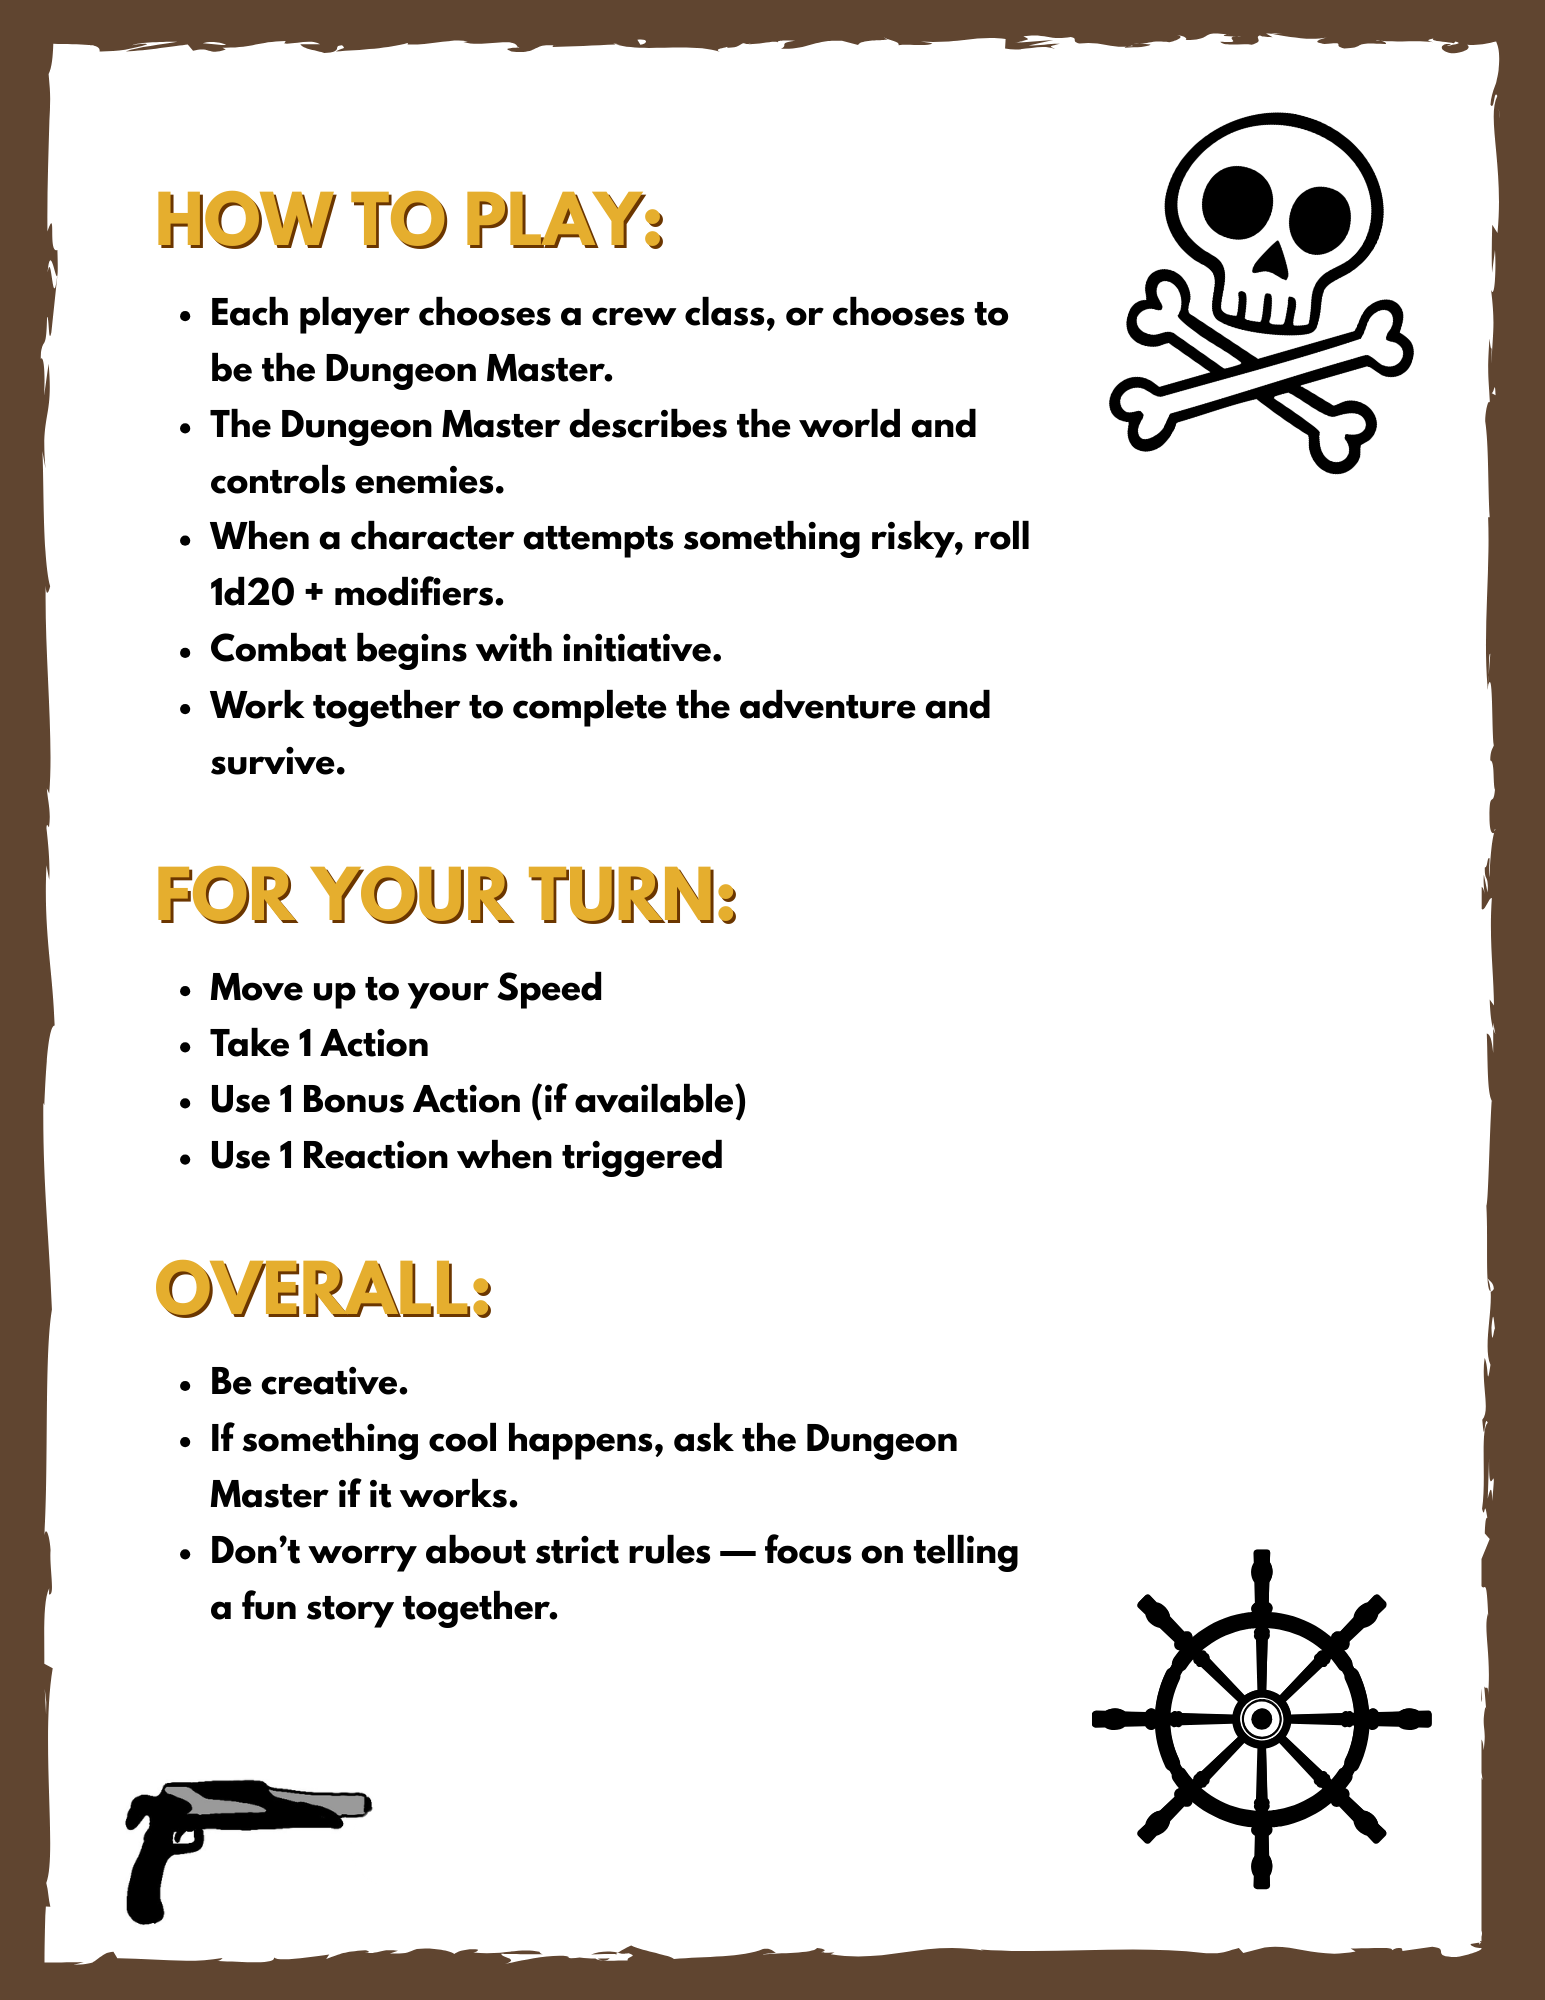
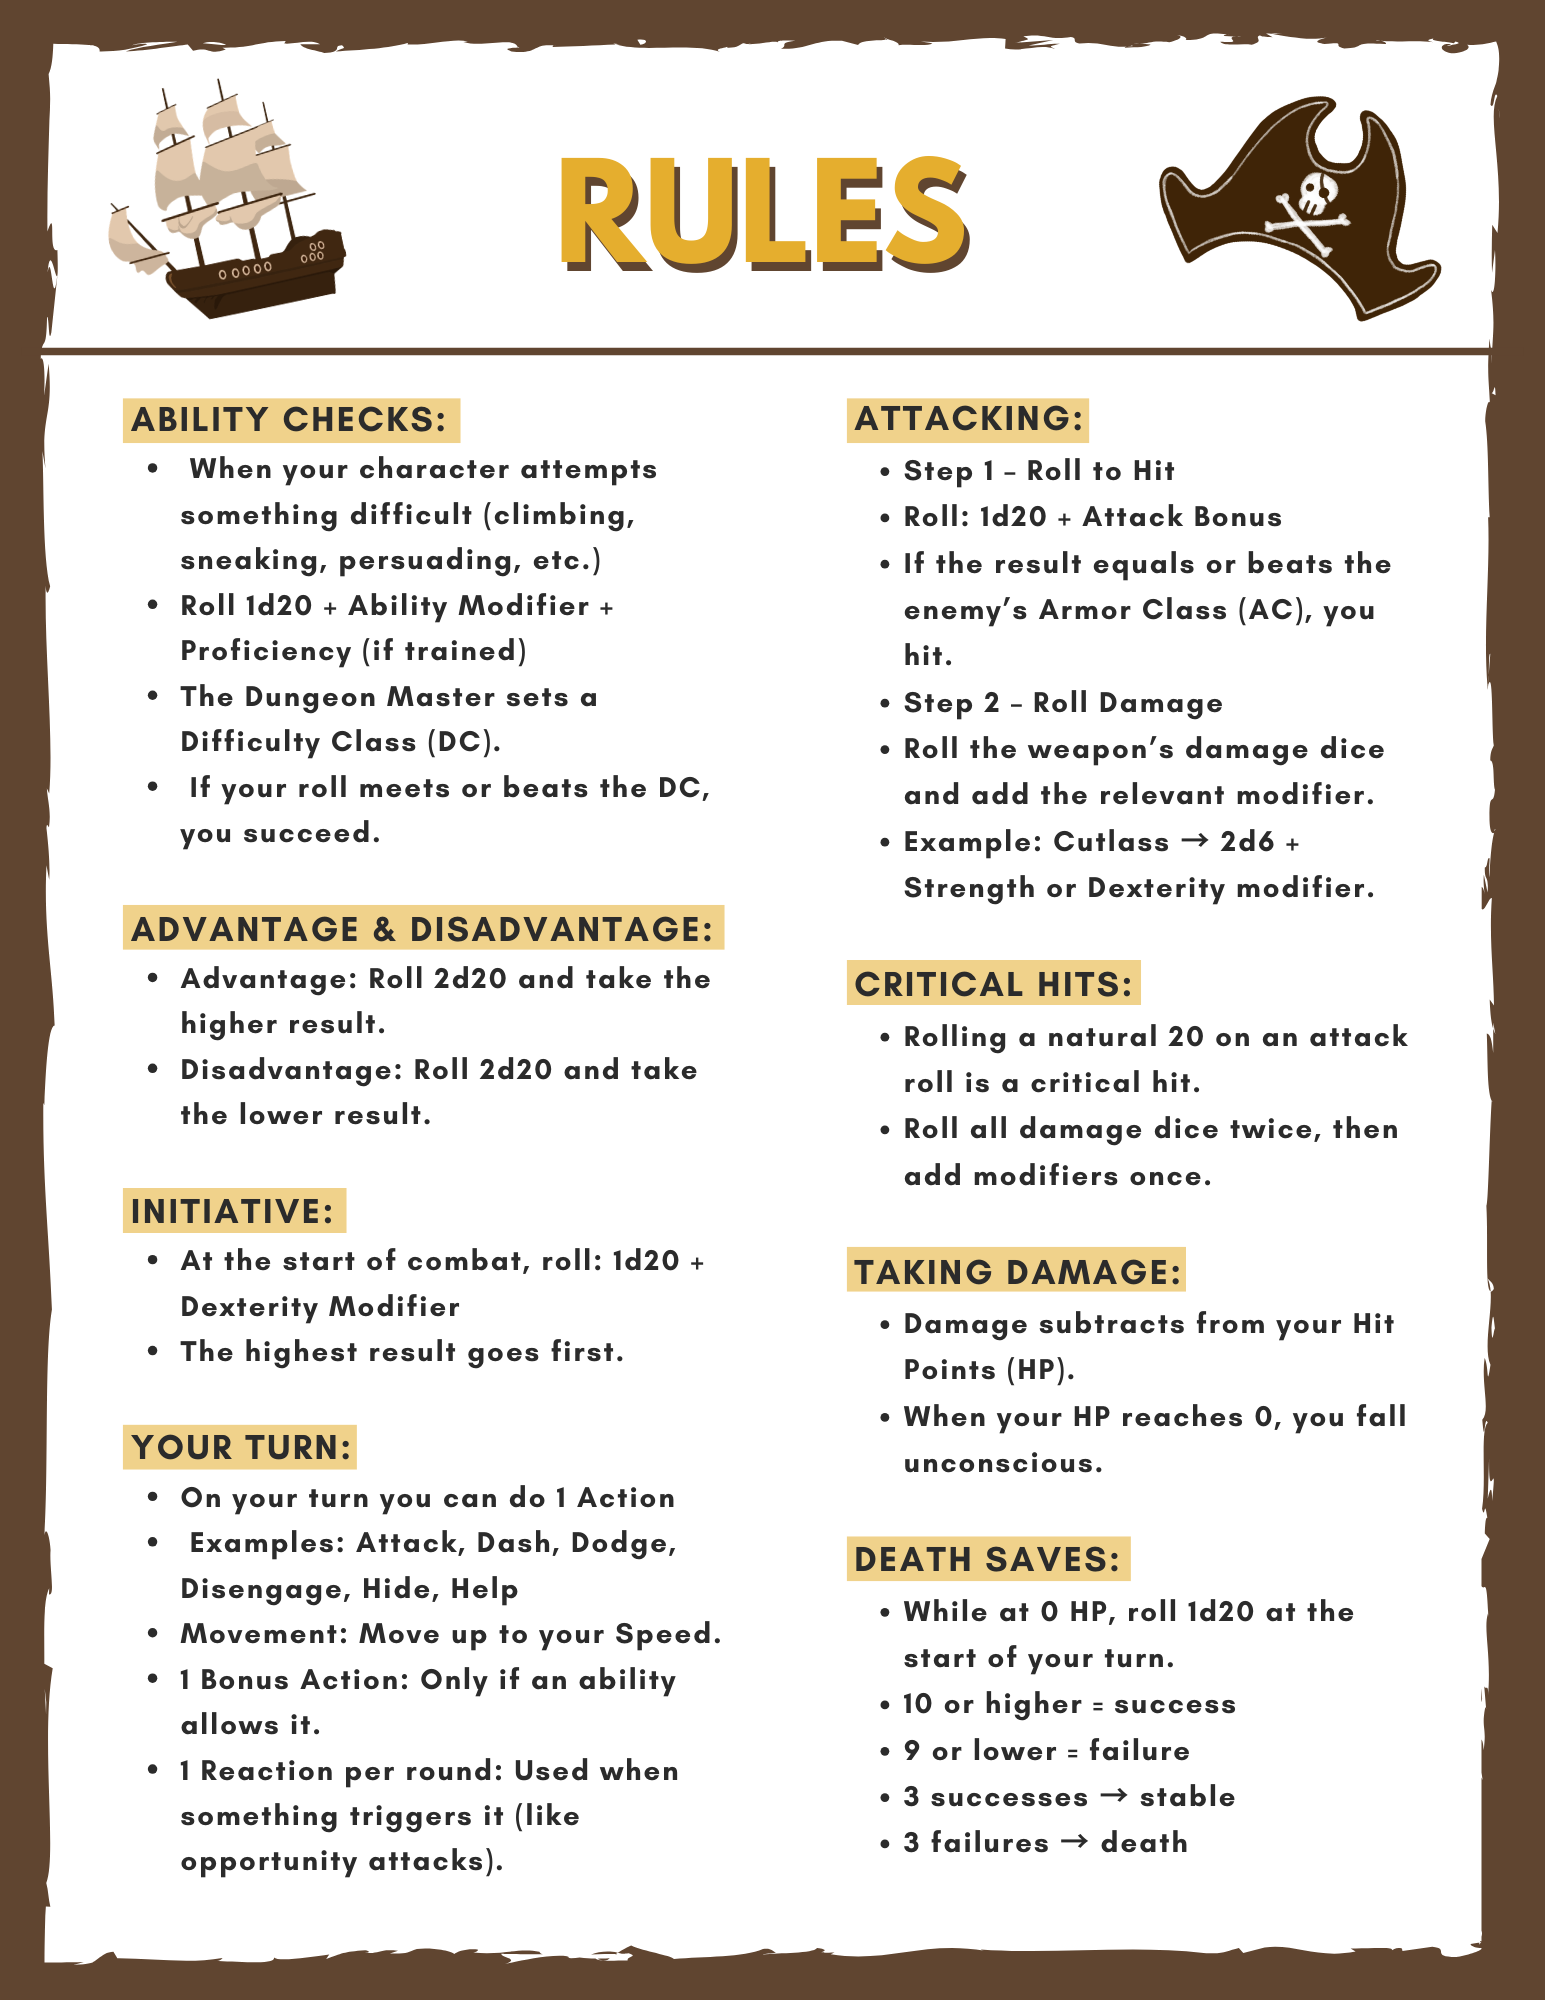
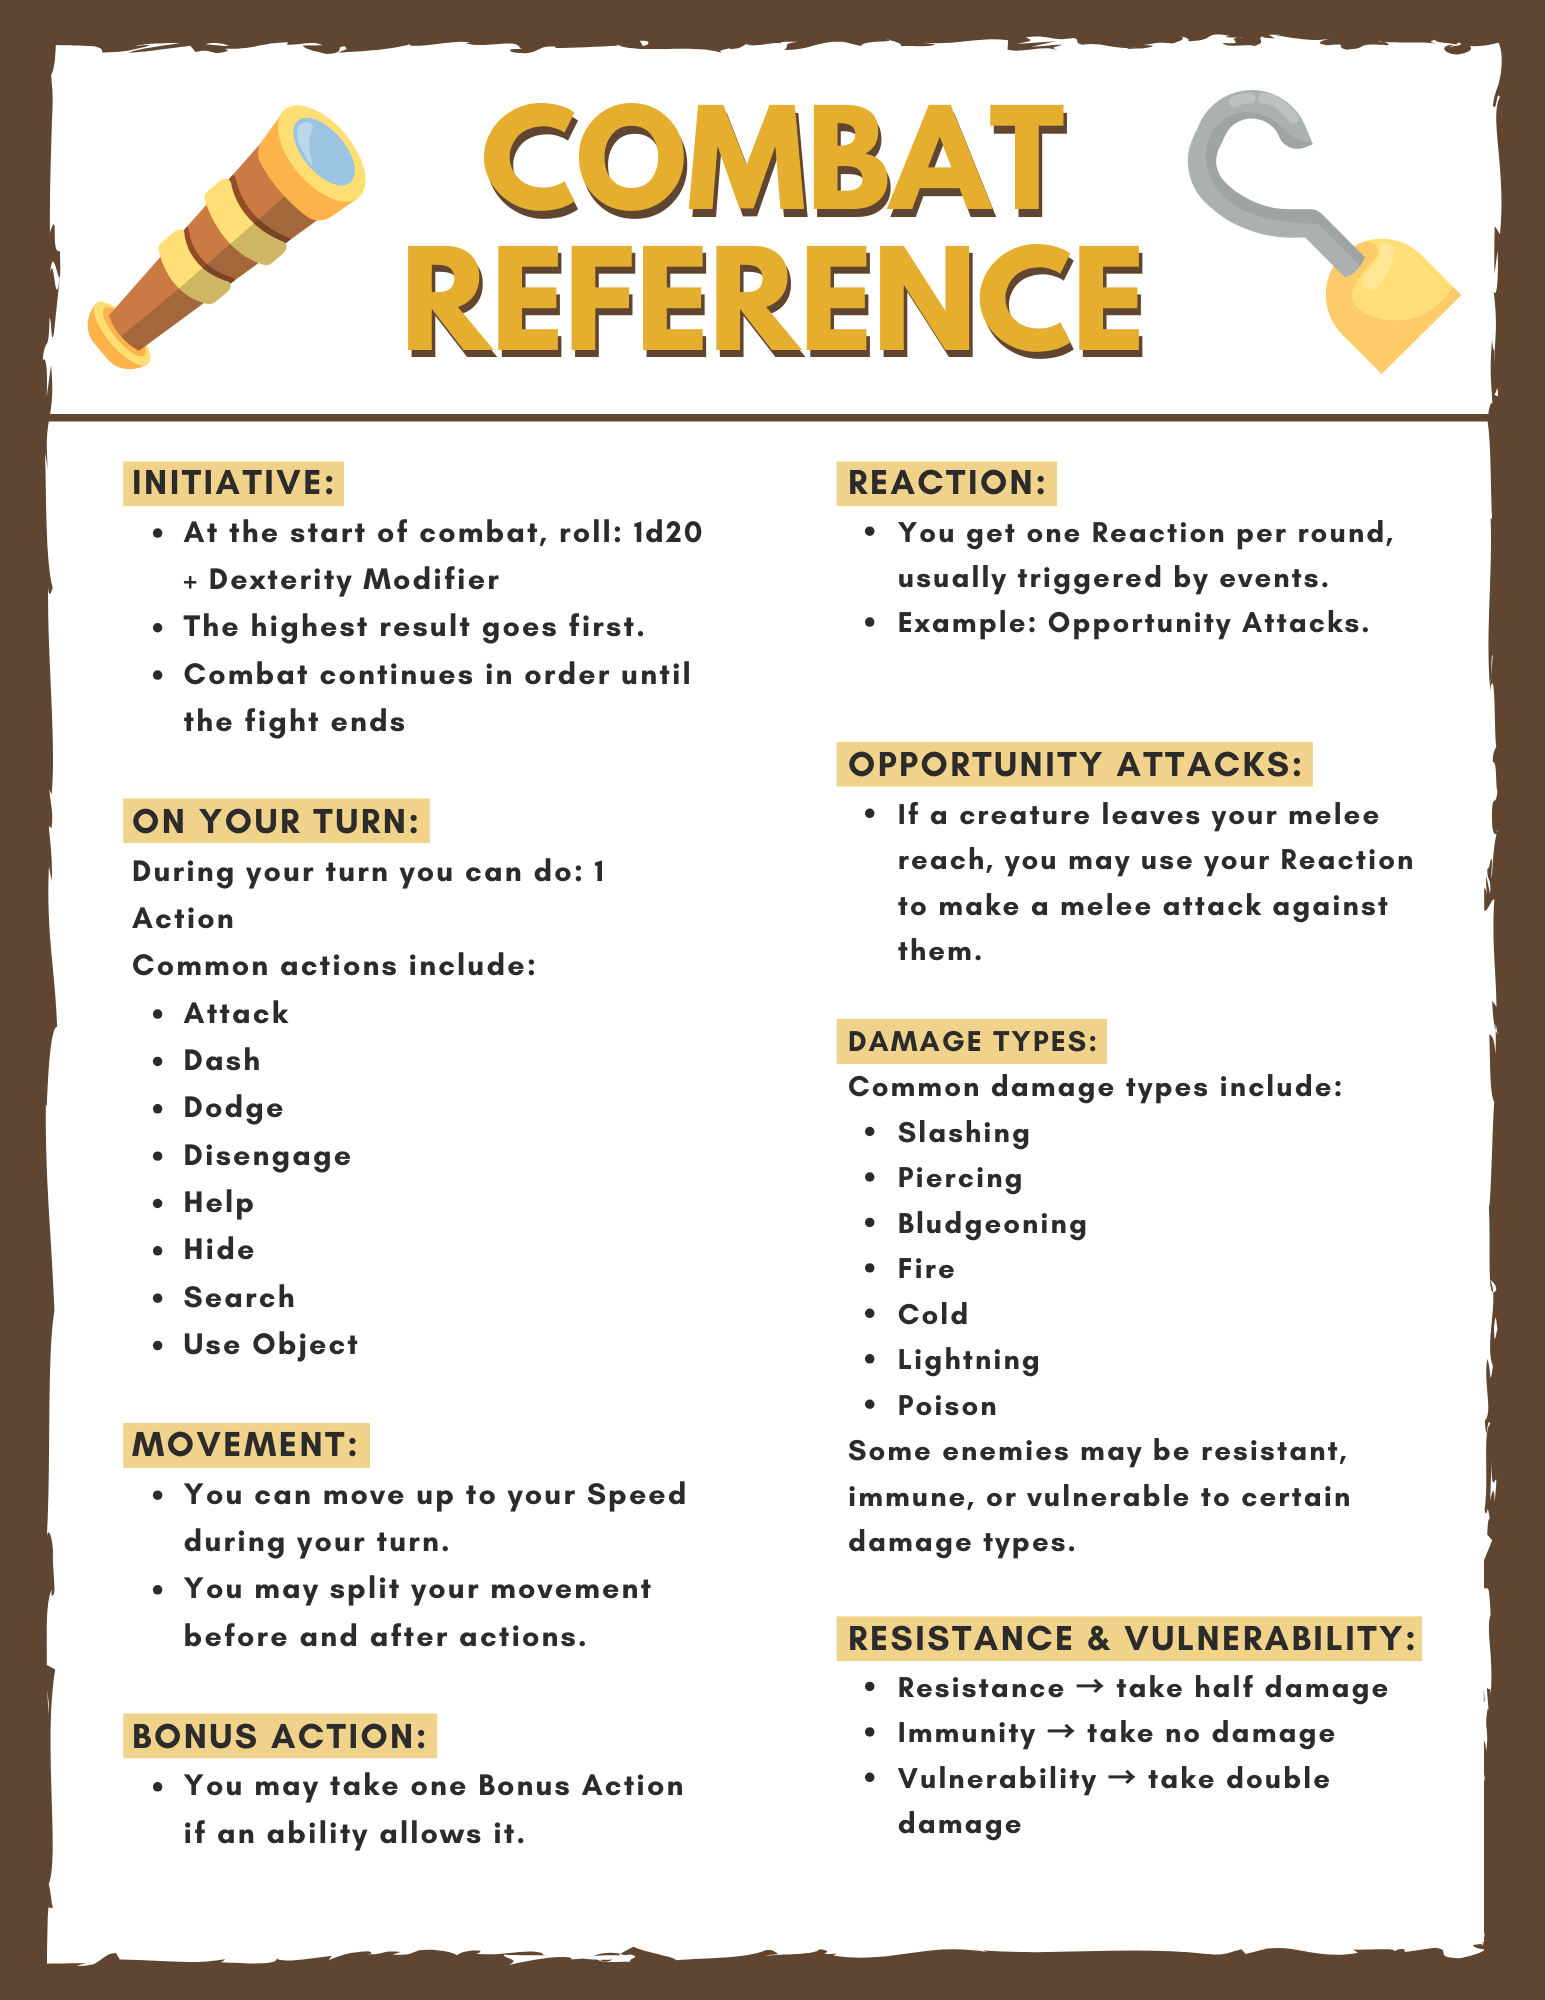
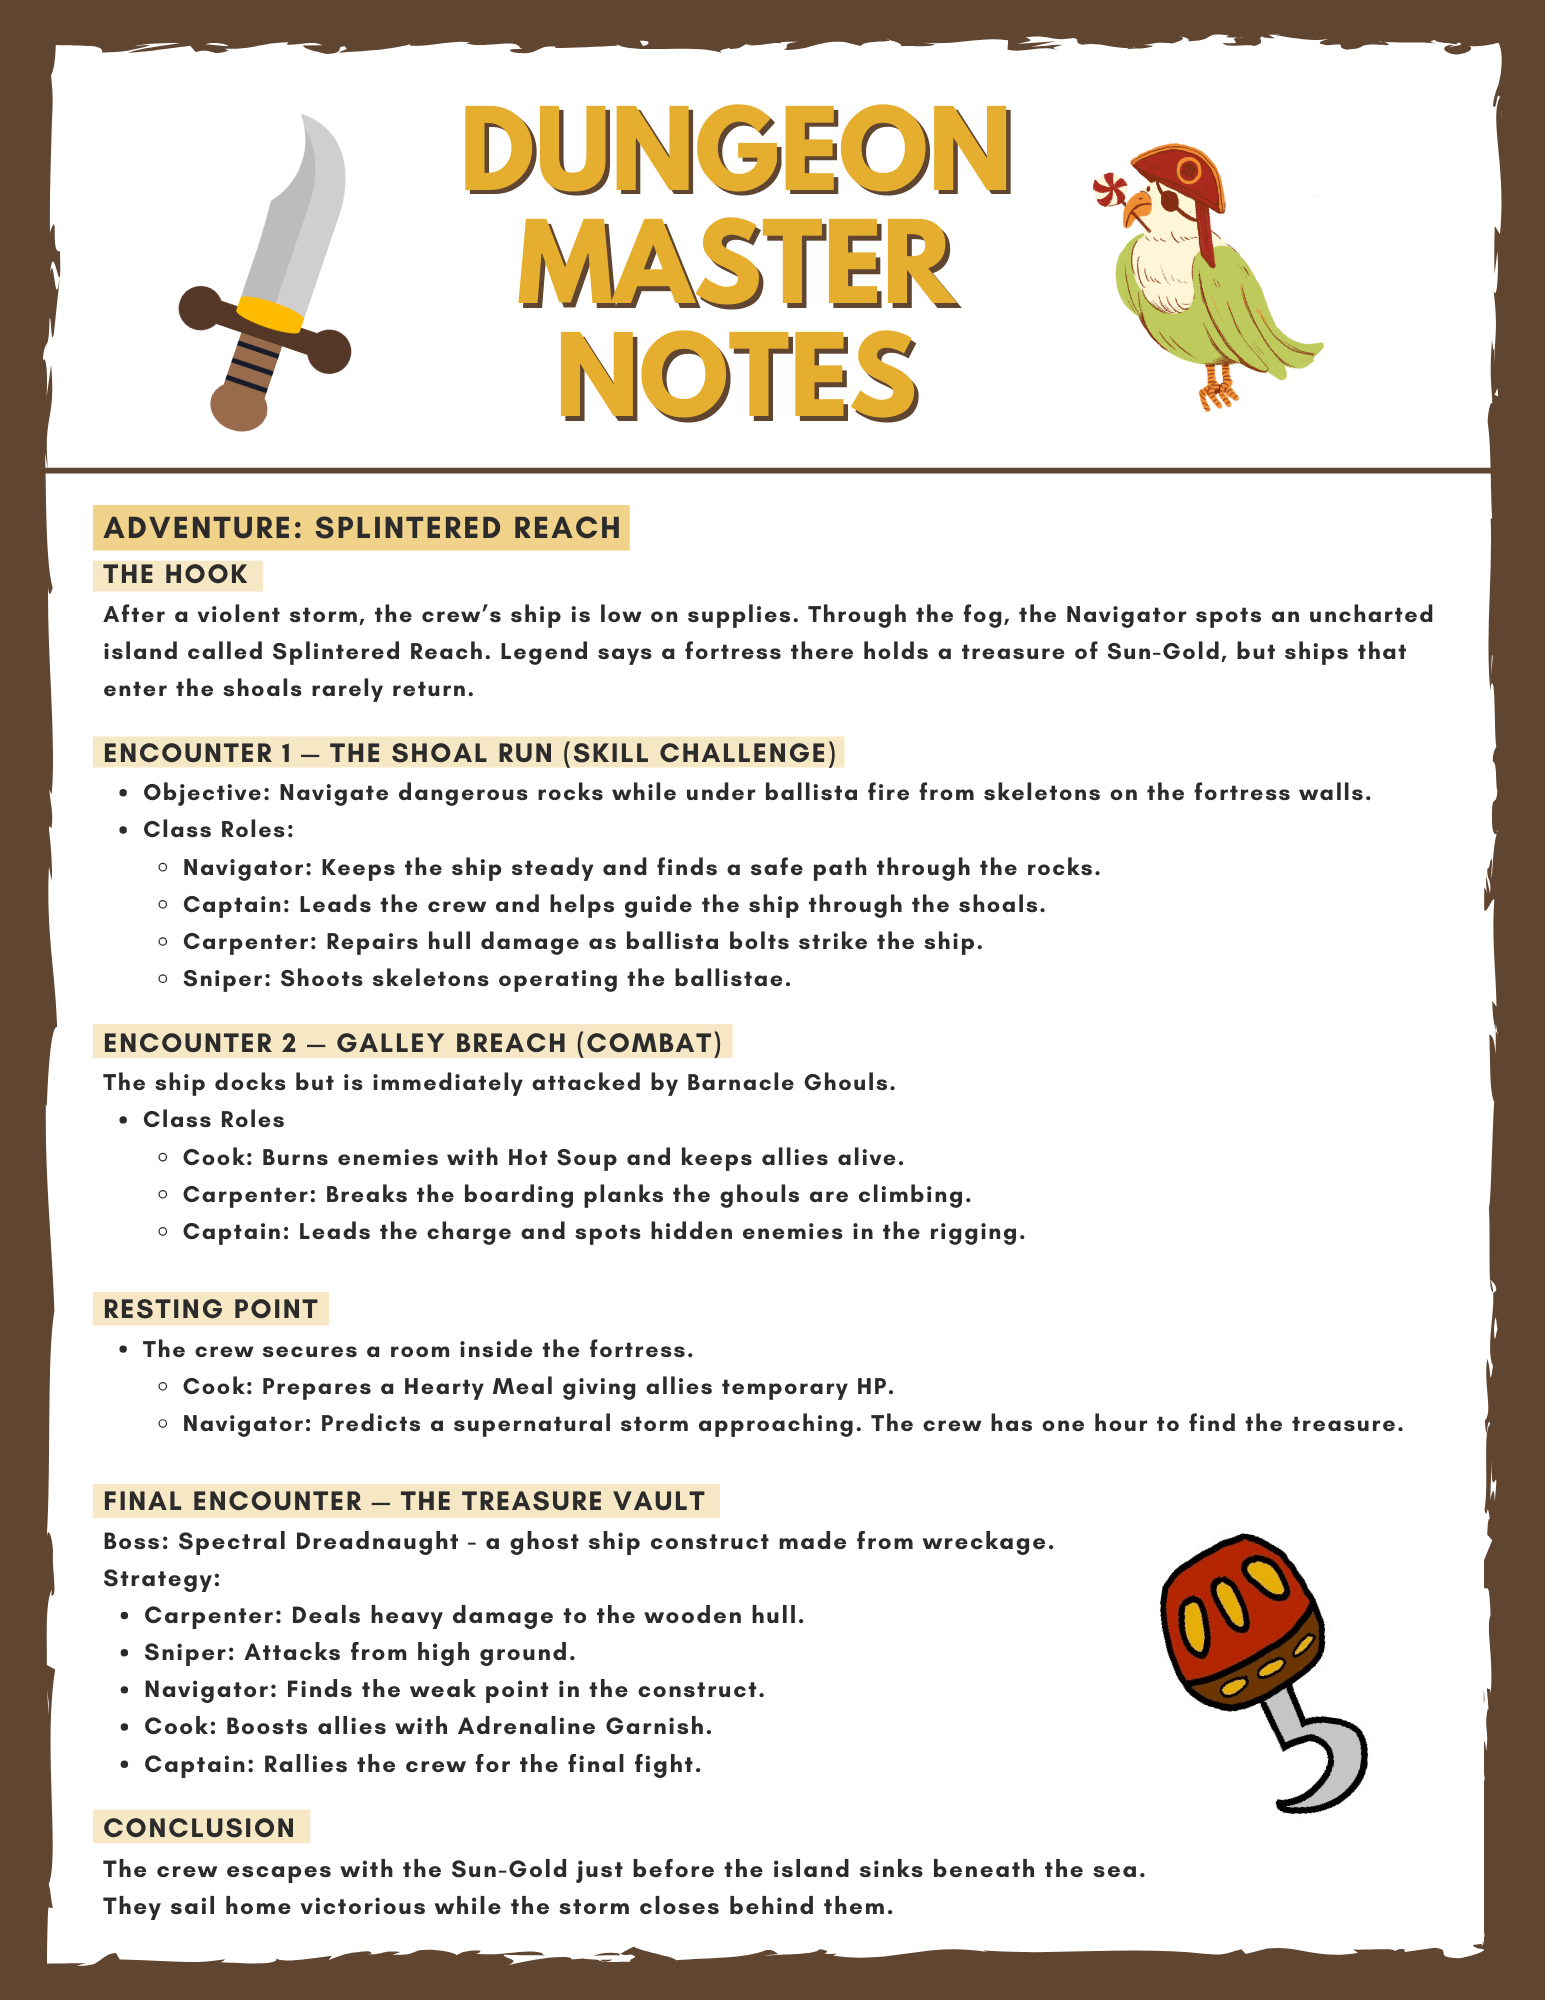
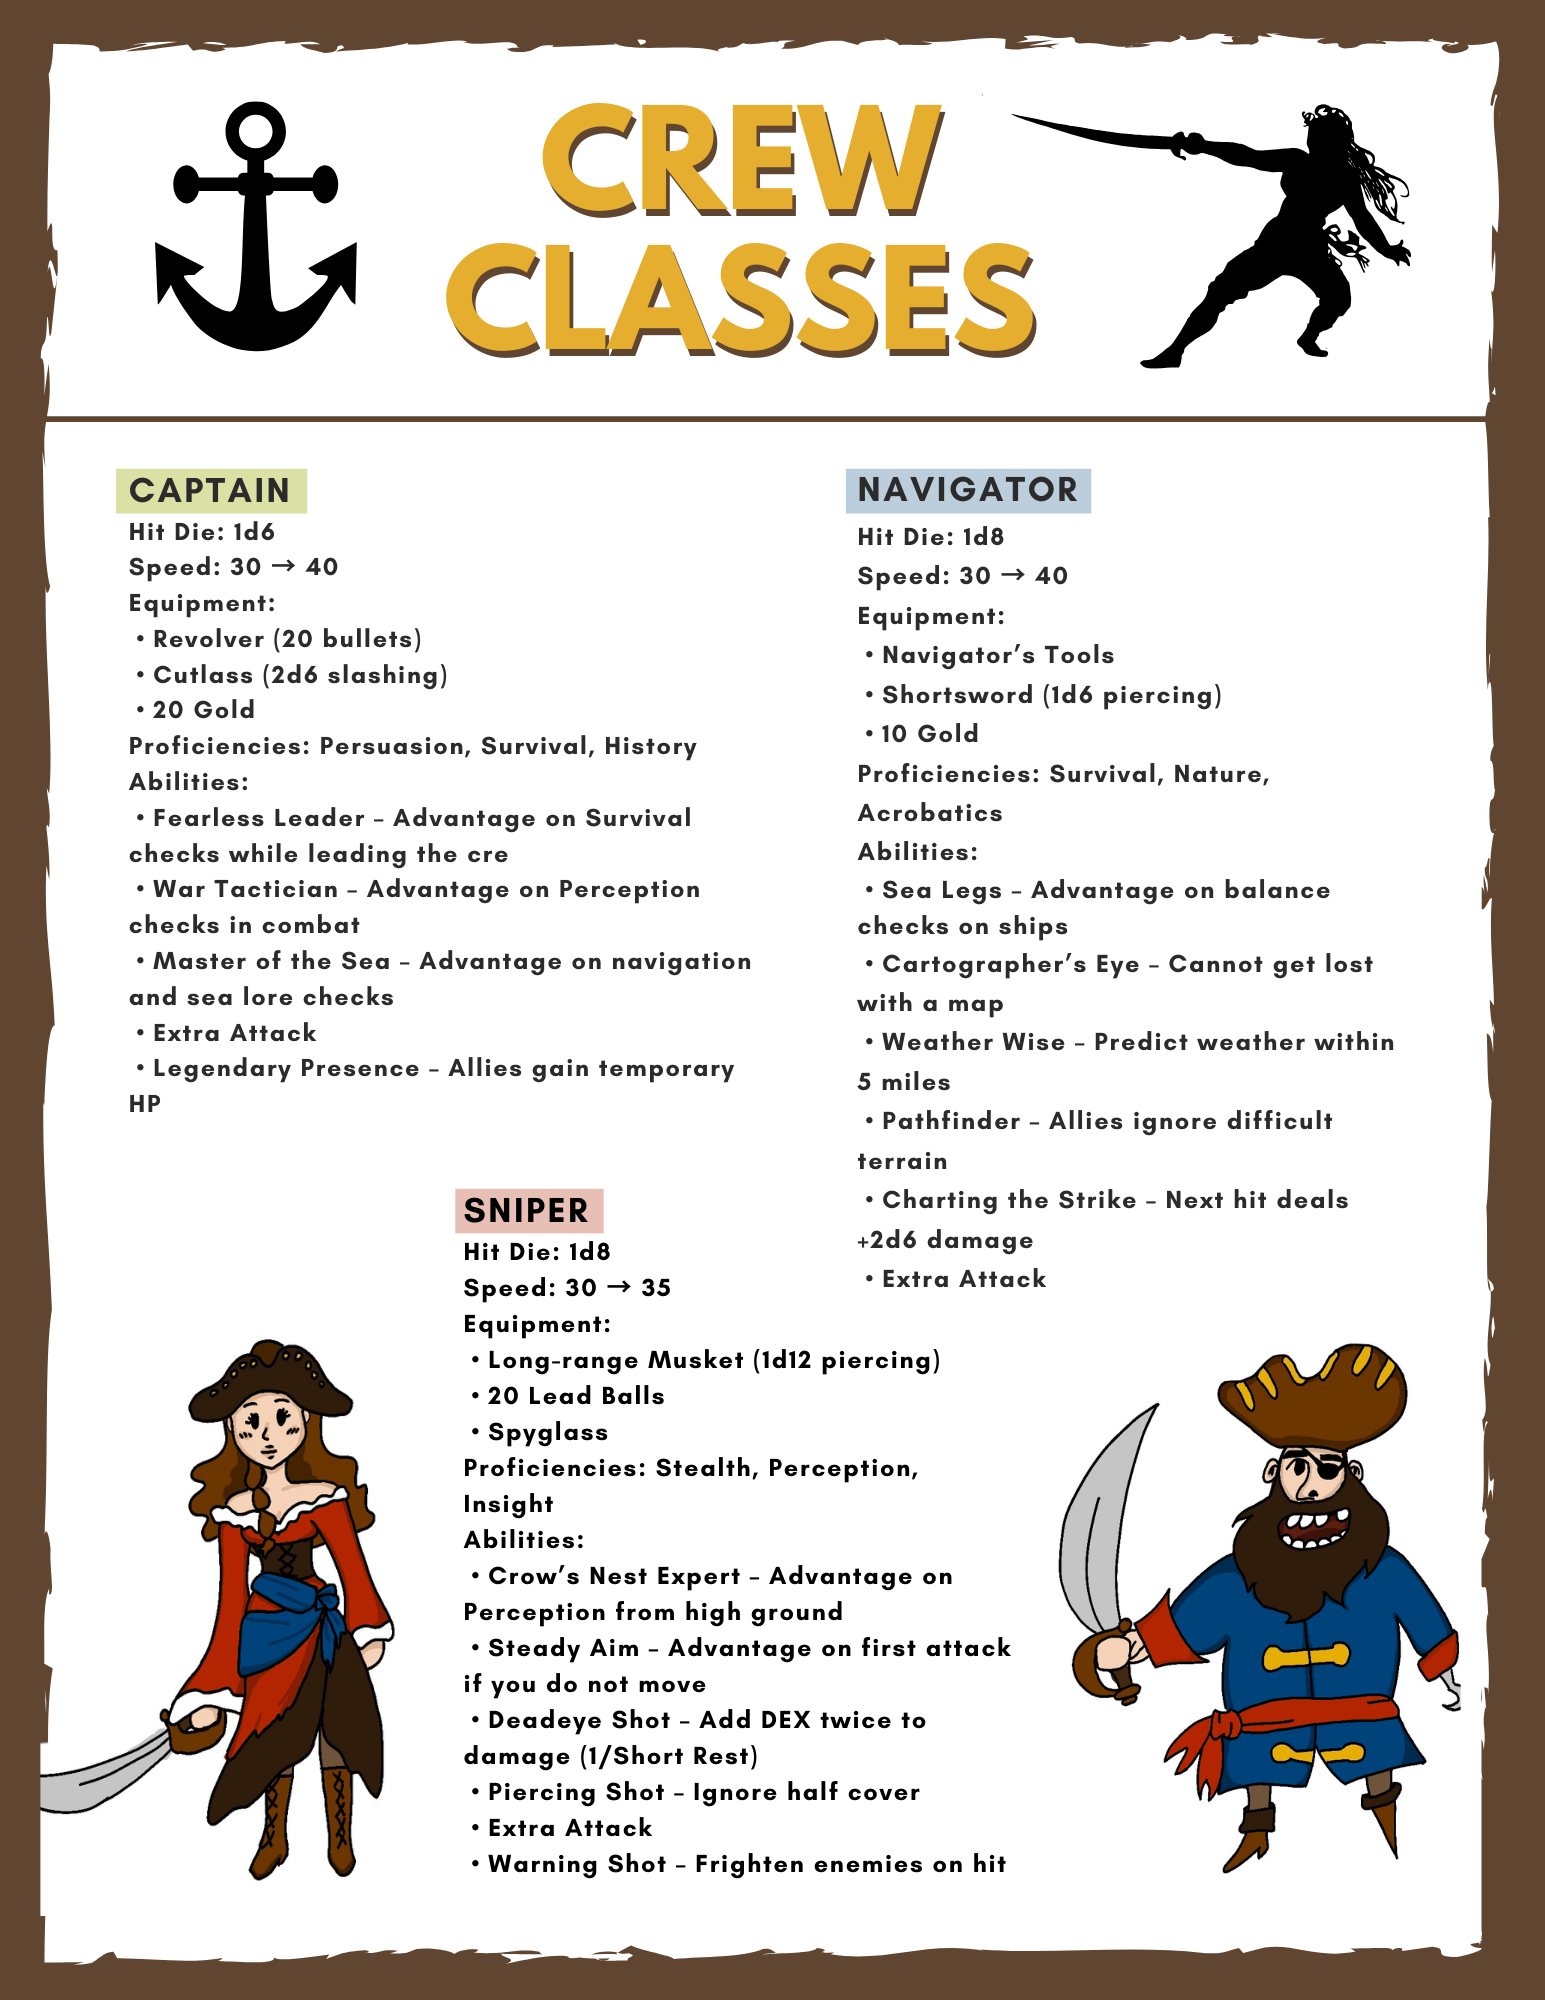
Pirates – Game Version 3
Chrystian and I decided to go ahead and create a version 3 of our Pirates game using everyone’s feedback to elevate it. We condensed the material, and we tried to make it more understandable for new players. We also decided to integrate some of the concept art to the sheets themselves to make it more presentable.
Game test: One (evil uno)
1. so many cards!!
2. stacking a +8
3. win
4. didnt play 1st version
5. less action cards more number cards
6. uno in purgatory
7. no, literally uno if it was created in Hell
2. stacking a +8
3. win
4. didnt play 1st version
5. less action cards more number cards
6. uno in purgatory
7. no, literally uno if it was created in Hell
game Test: Cat Rush
1. Not being able to heal
2. using my cat’s ability
3. special attacks for cats
4. better card ratio this time
5. nothing
6. cat battle cards
7. yes, very simple and fun especially with someone who likes cats
2. using my cat’s ability
3. special attacks for cats
4. better card ratio this time
5. nothing
6. cat battle cards
7. yes, very simple and fun especially with someone who likes cats
Game Test: Magic Circle
1. all chance with dice
2. favorite part was winning on risk
3. win more
4. didn’t play 1st version
5. higher cap to win
6. underage dice roulette
7. maybe play again, would make sense in a casino
2. favorite part was winning on risk
3. win more
4. didn’t play 1st version
5. higher cap to win
6. underage dice roulette
7. maybe play again, would make sense in a casino
game test: SkyJo
1. not frustrating
3. setting up a column rule
3.nothing else I wanted added
4. didn’t play last version
5. nothing needs to be changed
6. number animals match
7. yes, very fun and simple to understand
3. setting up a column rule
3.nothing else I wanted added
4. didn’t play last version
5. nothing needs to be changed
6. number animals match
7. yes, very fun and simple to understand
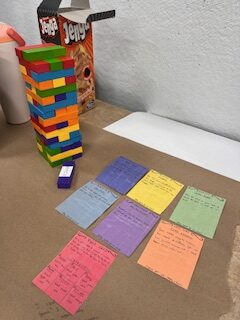
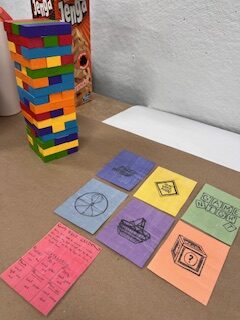
Kayla & Nikayla Modified Jenga Final Game Documentation
- I think our game is fun and amusing. It is simple but adds a fun twist to an already fun game.
- We only had one group give us feedback, and much of that feedback unfortunately could not really be added to our game but we heavily considered and appreciated the input. Since we only had one group’s feedback, it was hard to make adjustments.
- One suggestion was that we could add more cards, which was the most helpful. Feedback was positive and that it was fun.
- For version 3, we would add more subcategories with more cards so that it would become less repetitive.
- See photos below
4D animation (part 2)

4D 3 part animation
Chrystian Kozak Animation Project 1,2,3
/Users/chrystiankozak124/Desktop/4D studio Project 1/Sprite Animation.html
Water Bucket Clicker (Persuasive)
Simple, you originally clicked to fill up a bucket and dump it. Now you have to meet a quota with the amount of buckets you fill up. You get assigned to a building that has a leak in it. If you do not fill up the buckets quick enough, the building will flood before your coworkers fix the leak. Continue this and you will get tougher jobs that are longer but pay out quicker.
5 New Game Ideas To Changing Players Minds
1-Empire Game
A game about growing a new empire, the more your empire grows the more enemies you gain. It puts you and the people of your nation at risk.
2- Chef Simulator
You start the game by cooking whatever you like but the harsh reality is that people and critics are very tough on your food. You have to adjust to the customers needs with taste, prices, and portions.
3- Political Partay
You create a new political party and try to convince the people of your nation to join you. Could work out, or it can make the nation turn on you as a whole.
4- Climate Race
Similar to how there was a race to the moon lets say, each country is racing to find a way to end climate problems. However, some countries try to take shortcuts and end up hurting the Earth rather than fixing it.
5-Energy Crisis
Creating new ways to use energy is revolutionary. Many for the better, some are for the worse. Your goal is to make society grow without having any negative effects. For instance, think of when the first nuclear weapon was creating. What followed suit after that is not necessarily the best but it changed science forever. Follow your path, and make your own path in the history books.