XD Semester Project Timeline
logo

IK this is lo-res. Imma have to touch this up but this is def my logo concept, works with all my art as a signature and the name of the main character I voice act in my animated film
revised artist statement
Rees Edwards is a multidisciplinary artist based in the Pittsburgh area with a broad and constantly evolving skill set for creative design, which includes animation, video editing, music production, game design, and traditional visual arts. Over the past several years, I have sold many of my works at art festivals and completed multiple commissioned pieces, including large-scale acrylic paintings on canvas. These experiences have helped me develop not only my artistic voice, but also a strong understanding of presentation, storytelling, and connecting with an audience. My passion for animation began early in life. As a child, I spent countless hours creating stop-motion animations, primarily using LEGO and clay, learning through experimentation how movement, timing, and framing could transform a still object into a whole story. That early fascination never faded; instead, it became the foundation for my creative identity. Over time, my interests expanded beyond stop motion photography, later into frame by frame animation and key-framed animation of rigged characters. As well as compositing, and animating over live-action footage. I am especially drawn to animation as a storytelling medium because it allows complete control over tone, pacing, and visual expression. throughout my years of learning, I have continuously learned a wide range of digital tools essential to modern creative production. I have extensive hands on experience with various programs within the Adobe Creative Suite, including Animate, After Effects, Photoshop, and Illustrator. These tools have become integral to my workflow, enabling me to move fluidly between illustration, animation, and compositing. As my current focus has increasingly centered around this love for animation, I have begun furthering my skill set with specialized tools designed specifically for professional animation pipelines. Most notably, I am actively learning Toon Boom Harmony, deepening my understanding of 2D animation workflows, rigging, cut-out animation, and traditional frame-by-frame techniques within a production-grade environment. Overall, I am pushing myself to learn this program so that I can also push my art to be better than my last works, constantly evolving. I hope to eventually have a polished work that can be continuously revisited, such as my workflow with my Animated film Soleil of Earth. You see, all of these skills and influences will be exhibited in the making of Soleil of Earth. This project blends Live action, key-framed animation, frame by frame animation, music, and visual effects into a cohesive experience; one that I am in the works to make more interactive. In the end, my work is driven by curiosity, patience, and a lifelong fascination with movement and storytelling. Whether working with sound, paint, pixels, or motion, I am always seeking new ways to bring ideas to life.
4D class Bekzod N
Chef Check – Documentation
Rules for Chef Check
Chef Check
Created by: Harmony & Bryce
Players: 2-4
Age: 10+
Objective:
The goal of Chef Check is to be the first chef to reach the winning score by creating complete meal “runs” and earning points each round.
During each round, players race to get rid of all their cards by forming as many runs as possible, each run scoring valuable points. The round ends when one player plays or discards their last card, and everyone adds up their total points from completed meals.
Keep track of your points throughout the game.
Setup
- You need a score sheet and a pencil.
- Shuffle the Food Cards and deal all players 7 cards, and place the rest face down in the center as the Draw Pile.
- Turn the top card face up beside it — this is the Food Discard Pile.
- Create a separate space for the Sabotage Discard Pile, where used sabotage cards will go (they can’t be reused or picked up later)
Gameplay
- Any player can go first, and game continues clockwise
- To start your turn you must pick up a card from the discard pile or the draw pile.
- During your turn, you then have freedom to then lay down any meal runs you may have and/or use a sabotage card.
- When you use a Sabotage card, place it in the sabotage discard pile.
- Then to end your turn you have to discard one of your cards from your hand
- IF you picked up from the discard pile to BEGIN your turn, you CANNOT discard that card during the same turn.
- When discarding your card, place it on top of the previous card so that the previous card is no longer visible.
- IF the deck runs out of cards, reshuffle the food discard pile and take the top card and flip it over to begin the new discard pile and continue play.
Points
Players add up their points at the end of each round. These are the values of cards/runs:
- Chef Meals: 20pts
- Regular Meals: 10pts
IF you have cards remaining in your hand after a player has run out of cards, you subtract the point value of what is in your hand from your current points. Each card left in your hand is -5 points.
Winning
Once a player reaches 100 points after a few rounds of play, wins the game and the game ends.
Card Types:
There are 4 types of cards in Chef Check: Entree cards, Side cards, Drink cards, and Sabotage cards. Three cards of all food types make up a set:
Example: (Fillet Mignon [Entree], Rice [Side], Water [Drink]).
Entree cards are distinguished by the image of a plate with utensils, side dishes have an image of a bowl, and drinks have an image of a glass. Sabotage cards can be played once during a player’s turn, which can affect themselves or other players.
Chef Meals
Chef meals are special card sets that yield extra points when played. Instead of receiving 10 points for a set of 3 unrelated food items, completed chef meals yield 20. Cards in the same meal set are color coded below.
- High Class – Filet Mignon, Mashed Potato, Red Wine
- Pescitarian – Salmon, caesar salad, lemonade
- Meal prep – Roast Chicken, Rice, Water
- Cookout – BBQ Ribs, Mac and Cheese, Beer
- Red lobster – Lobster tail, Veggies, Dr. Pepper
Sabotage Cards: ( ! symbol on each card )
Food Swap: Swap one random card with another player.
Mice Attack: Your target has to get rid of ONE of their runs and put it in the discard pile.
Kitchen Fire: You burnt one of your food items, discard a useless card from your hand.
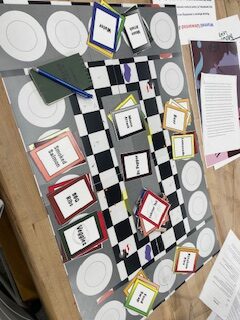
Key changes since the first iteration were the introduction of visual elements to the cards, a revision of the rules and card interactions, and the introduction of a playing board. To make the cards more accessible, we decided to change their color to match the meal that would fit them most optimally. We also added icons to the ends of each card to help identify what type of food item they are (entree, side, drink). Our final version included a game board to add more atmosphere to the game.
After play tests, we encountered issues surrounding the ending of rounds and the avoidance of sabotage cards. Due to the way that rounds are supposed to end, players ended up with only one card, and no way to discard it and end the round. We require more play testing to find out the likelihood of the issue, but we believed that changing the number of starting cards could solve the issue. Another issue was the specificity of the sabotage cards. Some sabotage cards needed revisions to expand their usage.
While feedback for the game was good, we had many takeaways from our play tests. From those results we learned to emphasize visual design and consistency and refine the interactions between cards to account for all contingencies.
Quads – Full Documentation
Below is the full documentation for the card game QUADS
Rules for QUADS
QUADS
Introduction:
Quads is a fast-paced card game that blends the style of Poker with the mechanics of Spoons. Players pass cards between themselves, aiming to collect a winning hand to bet on. After a timed card-passing phase, players bet on their hands for the chance to win the pot.
What you will need:
- 3-6 players
- 1 deck of cards that includes Jokers
- A 30-second timer
- Betting chips in at least two different colors (or denominations), with enough for multiple rounds.
Game Setup
- Shuffle the deck of cards. Remember to include the jokers.
- Pass 1 card to each player. The player with the highest card becomes the “Passer”, who will cards from the deck during the Passing Phase. If two players tie, repeat this process between the players who tied until a tiebreaker is reached. If a joker is drawn, discard it and draw another card.
- The winner chooses the direction for passing cards: clockwise or counterclockwise. All players must pass cards in that chosen direction. (If you’d like, you can alter the direction of play after every round)
- Deal a number of chips depending on the difficulty you choose to play the game:
- Easy: Deal 5 green chips and 6 red chips to each player (21 points to start)
- Normal: Deal 4 green chips and 3 red chips to each player (15 points to start)
- Hard: Deal 2 green chips and 6 red chips to each player (12 points to start)
Green chips will be counted as 3 points, and red chips will be counted as 1. Extra chips should be made accessible if players run out of certain chips, and wish to exchange for chips of an equivalent value. If new to the game, play the game with a Normal level of chips.
Hand Rankings
This game borrows the hand ranking system from Poker, but removes some of the winning hands. Familiarize yourself with the ranking of hands below. Players with the highest ranking hand will claim the pot, or all chips in play. In the event of a tie, players must split the pot evenly, regardless of any extra cards (unless you are playing the Advanced Edition). When ready, start the passing phase.
Here are some examples of the hands you should be looking for.
- Four-of-a-Kind (Quads) – 4 cards of the same number (all suits): (4♠,4ç,4♦,4♣)
- Straight Flush – 4 sequential cards of the same suit: (2♠,3♠,4♠,5♠)
- Three-of-a-Kind – 3 cards of the same number (regardless of suit): (3♣,3♥,3♠,1♥)
- Two Pair – 2 pairs of cards with the same number (regardless of suit: (6♥,6♦,8♣,8♠)
- Pair – A pair of cards that share the same number (regardless of suit): (7♦,7♠,2♦,6♦)
Passing phase
- Shuffle the deck and deal 4 cards to each player. Place the remaining cards in an accessible place, this will become the draw pile. If a player receives a joker, reshuffle the joker back into the draw pile.
- When ready, the Passer will begin by drawing a card and discarding a card in their chosen direction. The player who received the card from the passer must collect the card and discard a card in the direction of the passer.
- When the last player in the cycle receives a card, they must discard a card in a pile adjacent to the draw pile. You should maintain a hand of 4 cards at all times.
- At any point during this process, players can “lock-in” their hand by placing their cards face-down and announcing it to the table. Locked-in players can no longer receive or discard cards. Players must pass around the locked-in player, and can draw if the previous passer locks-in.
- Continue this process until the first player locks in, or a Joker is drawn. If a Joker is drawn, the Passing Phase ends immediately and the betting phase begins.
- After the first player locks in a 30-second timer will begin. All other players must lock in their hands before the countdown ends to continue to the Betting Phase. When all but one player lock-in their hand, the passing phase ends immediately.
- Players who are holding more than 4 cards by the end of the Passing Phase are disqualified from the betting phase. Move quickly.
Betting Phase
Once the Passing Phase ends, all players (that are not disqualified) enter the betting phase. Given their current hand, players can choose to:
- Bet High – Place one green chip worth 3 points.
- Bet Low – Place one red chip worth 1 point
- Fold – Place your hand face down and disqualify yourself, making no bet.
The player who is locked-in first must start the betting phase, and the order of betting will follow the order of passing. After all decisions have been made, players enter the Reveal Phase.
Reveal Phase
Once the Betting Phase ends, all betting players must reveal their hand to the table. The player with the highest ranking hand will take the entire pot. If two players tie, and no other hand outranks them, they must split the pot as evenly as possible (Exchange chips if needed). If all players but one fold, the winner can take the pot “uncontested” and does not need to reveal their cards (It would make the game funnier if they did though). Players who run out of chips are eliminated from the game unless house rules state otherwise.
Collect the cards, shuffle the deck, then restart the Passing Phase. Continue until a Win Condition is reached.
Win conditions
Players can decide a winner using points, rounds, disqualification, or some mixture of the 3. Here’s some standard examples to provide a framework, but feel free to create your own:
- After 5/10/15 rounds, count the value of the chips. The player with the highest number of points wins. To start, play between 5-8 rounds and choose the winner based on chips.
- Given the number of points each player starts with, set a winning number of points players must reach to win.
- The last player to be disqualified wins the game.
Advanced Edition (Optional Rules): Read if you’ve played Quads enough
If you’ve played enough Quads to understand the game, and want more complexity/challenge, feel free to add some bonus rules:
Play with more players (alter time and decks for extra players)
No betting limit: Players can bet as many or little points as desired (be sure to adjust the points/starting chips to account for this)
Add more winning hands to the game
Straight – Any hand of cards that progress in numerical order, regardless of suit
High Card – If two players tie with the same hand rank, the player with the highest unmatched card wins the pot.
Add 1-2 more decks to the original to increase complexity
Expand the hand limit from 4 to 5
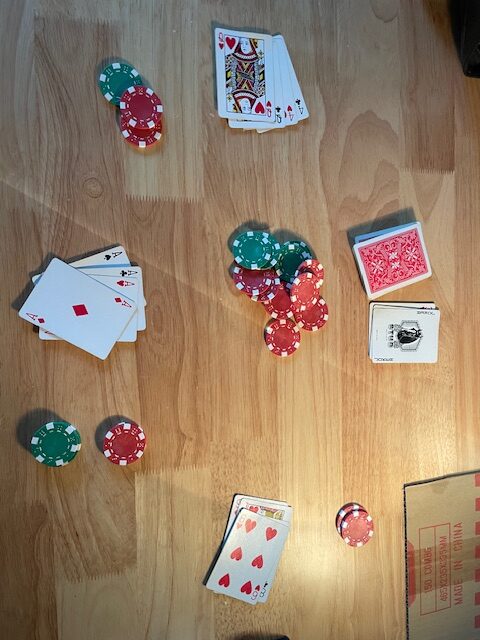
I used a standard deck of playing cards as well as a normal set of gambling chips.
Key changes include revisions to the rules and some of the game’s mechanics. Through testing, I found that the presence of two short timers was overwhemling and complex, especially for new players and players that wanted to take time to analyze their situation. In my final rendition, I removed the timer for the betting phase to allow players room to think. Furthermore, I changed the rules to start a timer only after a player locks in their hand. With this approach, the timer is less punishing, but still an active reminder to move quickly.
One final change to make is balancing the amount of starting chips in the game to allow the most expressive behavior. This will require more playtesting.
Key lessons I learned from playtesting is to have no expectations for the outcome, be adaptable to players who do not play the same way you do, and do not punish players (too much). I feel that I created a more balanced, fun, and casual game that is more accessable through playtesting.
Week 12-13 Question Set 1
- Working prototypes are functional, or semi-functional game designs that are intended to be reviewed and revised by publishers or game designers. Unlike display prototypes, working prototypes focus more on the game play, rules, and general systems rather than presentation. Display prototypes are the opposite, as they focus more on visibility and attraction than functionality. “The buyers at Toy Fair want to see your meeples, but they don’t care about your rules!”(Selinker, 119). Both protypes are useful depending on who is receiving the prototype.
Many factors play into what makes a working prototype a functional one. Working prototypes must be tested, flexible, and transparent. Prototypes must work as intended, and must be tested when new additions are considered. Prototypes must be adaptable to criticisms by publishers and designers, which is why one shouldn’t overinvest in a prototype. Lastly, a prototype must not withhold information, or leave information up to the designers or publishers.
To Dale Yu, what makes a good prototype is attention to detail, a good first impression, and a compotent design. Dale mentioned how the appearance of the prototype is among the first aspects of a game he views “I’d like the box art and text to look nice, and when I open thebox, I’d like to see the bits organized nicely. If it looks like you’ve spent a lot of time making your prototype, that goes a long way to impress me” (Yu, 126). Moreover, the appearance of the game factors into the playtester/designer/publisher’s first impressions. Lastly, rules must be legible and understandable.
Richard Levy advises to be prepared and adopt a liable personality. Being prepared entails doing research on the company you intend to pitch your game to, and also making sure that your game is unique and well designed. Being liakable is important because you need to sell yourself, as well as your game, to publishers. Realistic expectations, a good work ethic, and the ability to handle rejection are important to pitching a game.
You can pitch a game to small or medium sized game publishers, or to independent platforms that allow you to self-publish your game.
Publishers look for innovative designs, easily manufactuable components, accessability, expandability, and a good name, among other things.
Define aspects of the game like components, gameplay, and procedures accurately and in detail. Give overviews of the backstory and gameplay, as well as describe the items that players should be faimilar with. Explain the setup, gameplay, and the win state.
Pittsburgh Animations – Interactive & Poster Concepts
For these projects I wanted to tell the story of Pittsburgh and highlight the city’s changing seasons with an animated snow globe. I would like to continue developing these concepts!
Cowboy Documentation- looping & immersive concept
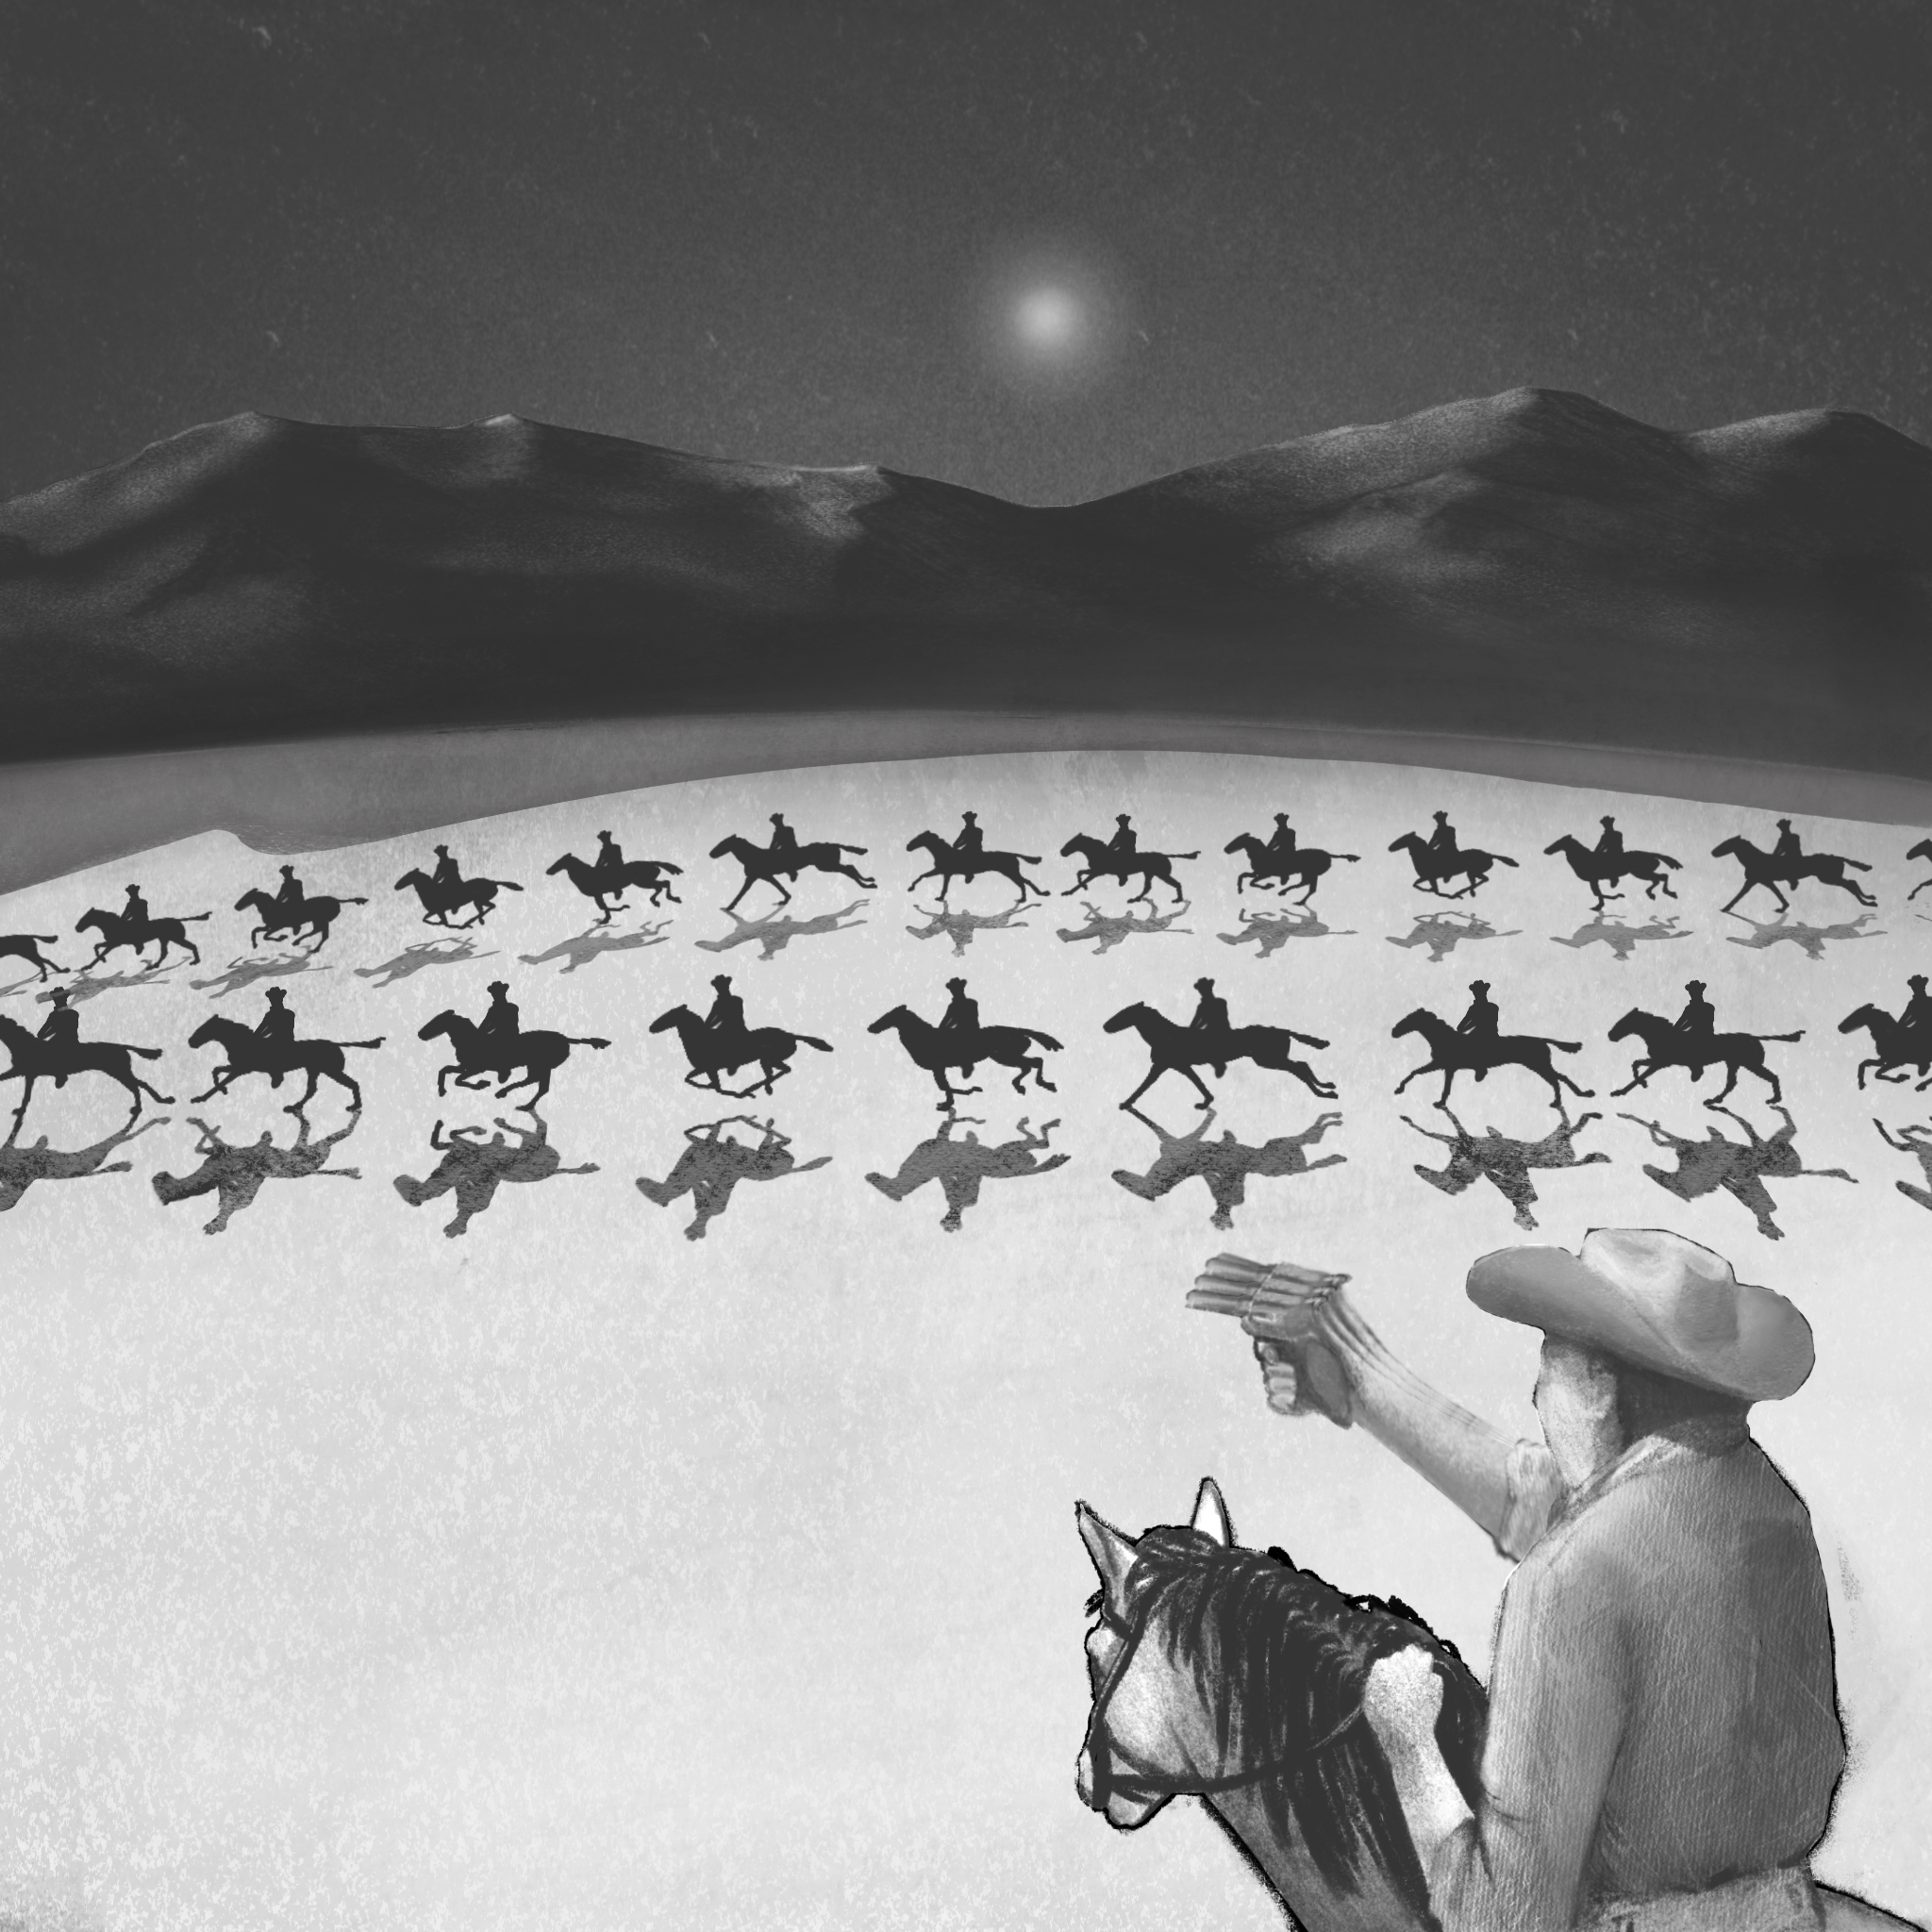

The backdrop for the animation in the 360 dome ^
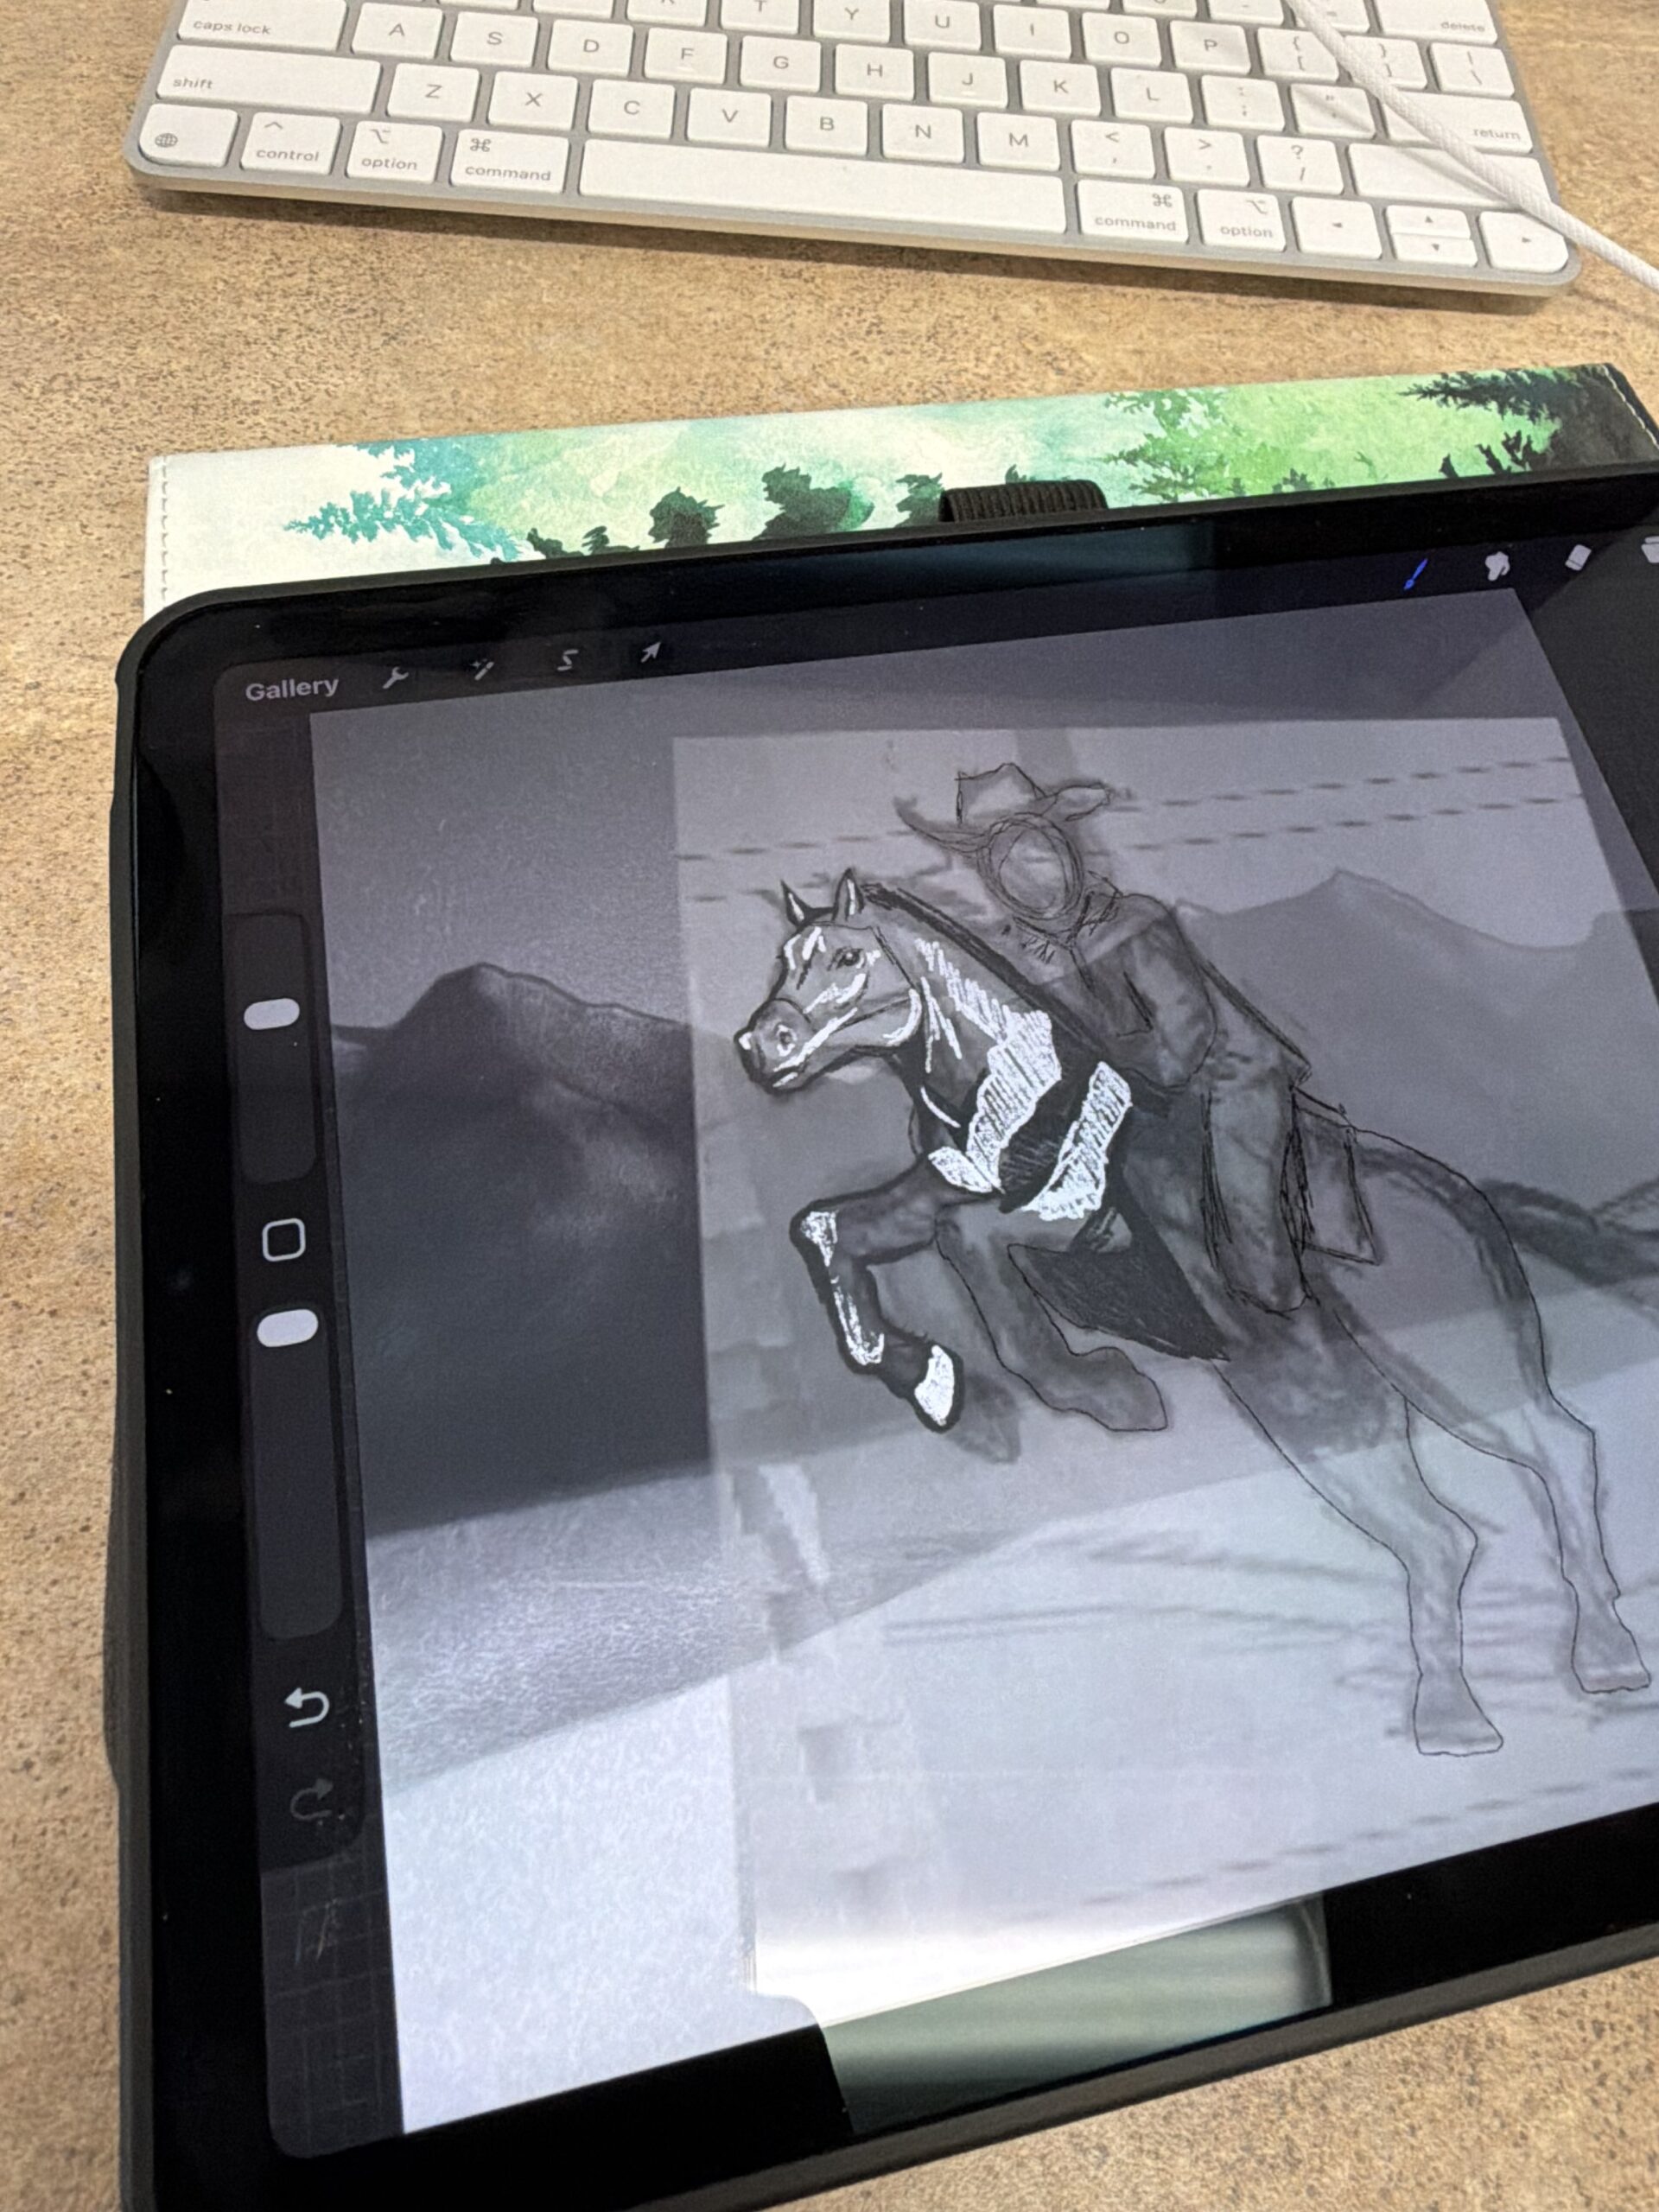
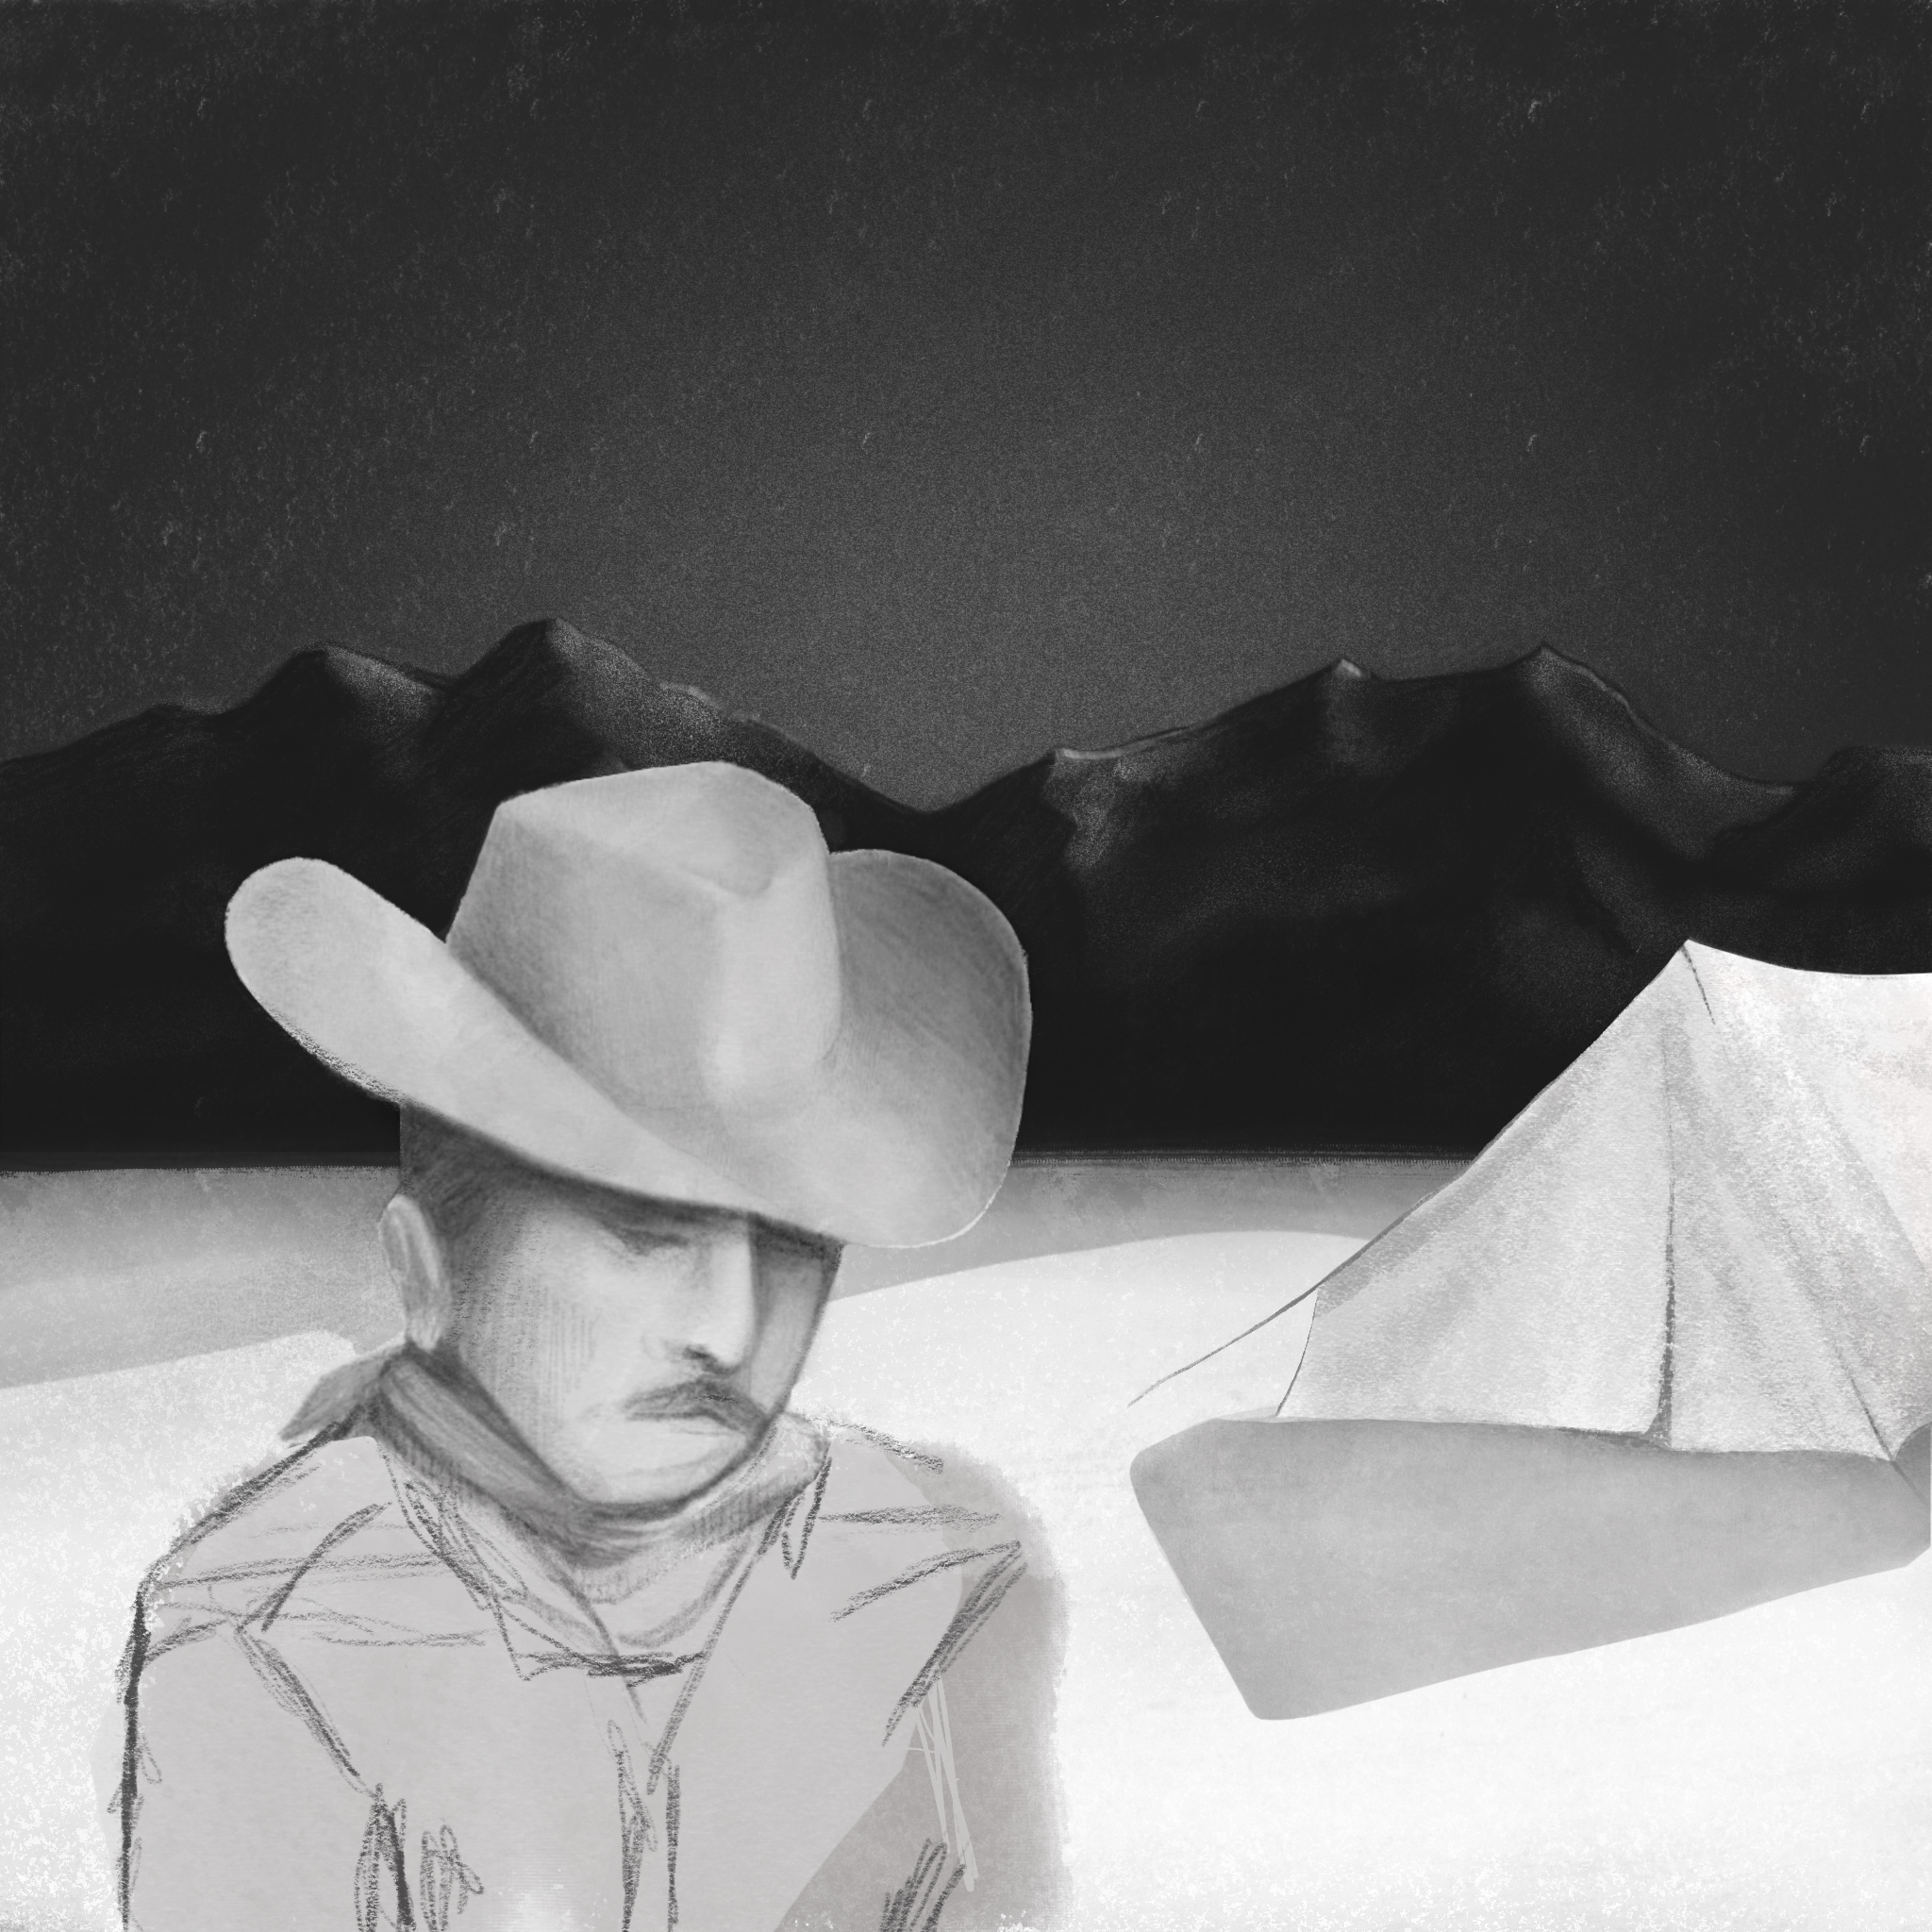
Cowboy Looping Animation
For my looping animations I chose to develop an old-western inspired action sequence. If I were to take this project further, I would add to each part of the animation so that it would be more cohesive as a whole. I would like to finish the first loop and have the ending scene to loop back to the smoking scene in the beginning. I’d also add more cowboys, and break down the character’s movements even further. This semester I learned different ways to create my assets, and different ways to approach storytelling.
Interactive animation final reflection
- Loop Animation: I found the loop animation a little challenging because drawing Fram for Fram is definitely not my strongest suit, but it still definitely came out the way I wanted it to. Making an interactive children’s coloring book was my main goal so making it a simple design was a little rewarding for me, but creating a story within the loop was a challenge. Overall, I think it came out fairly well and Im happy with it.
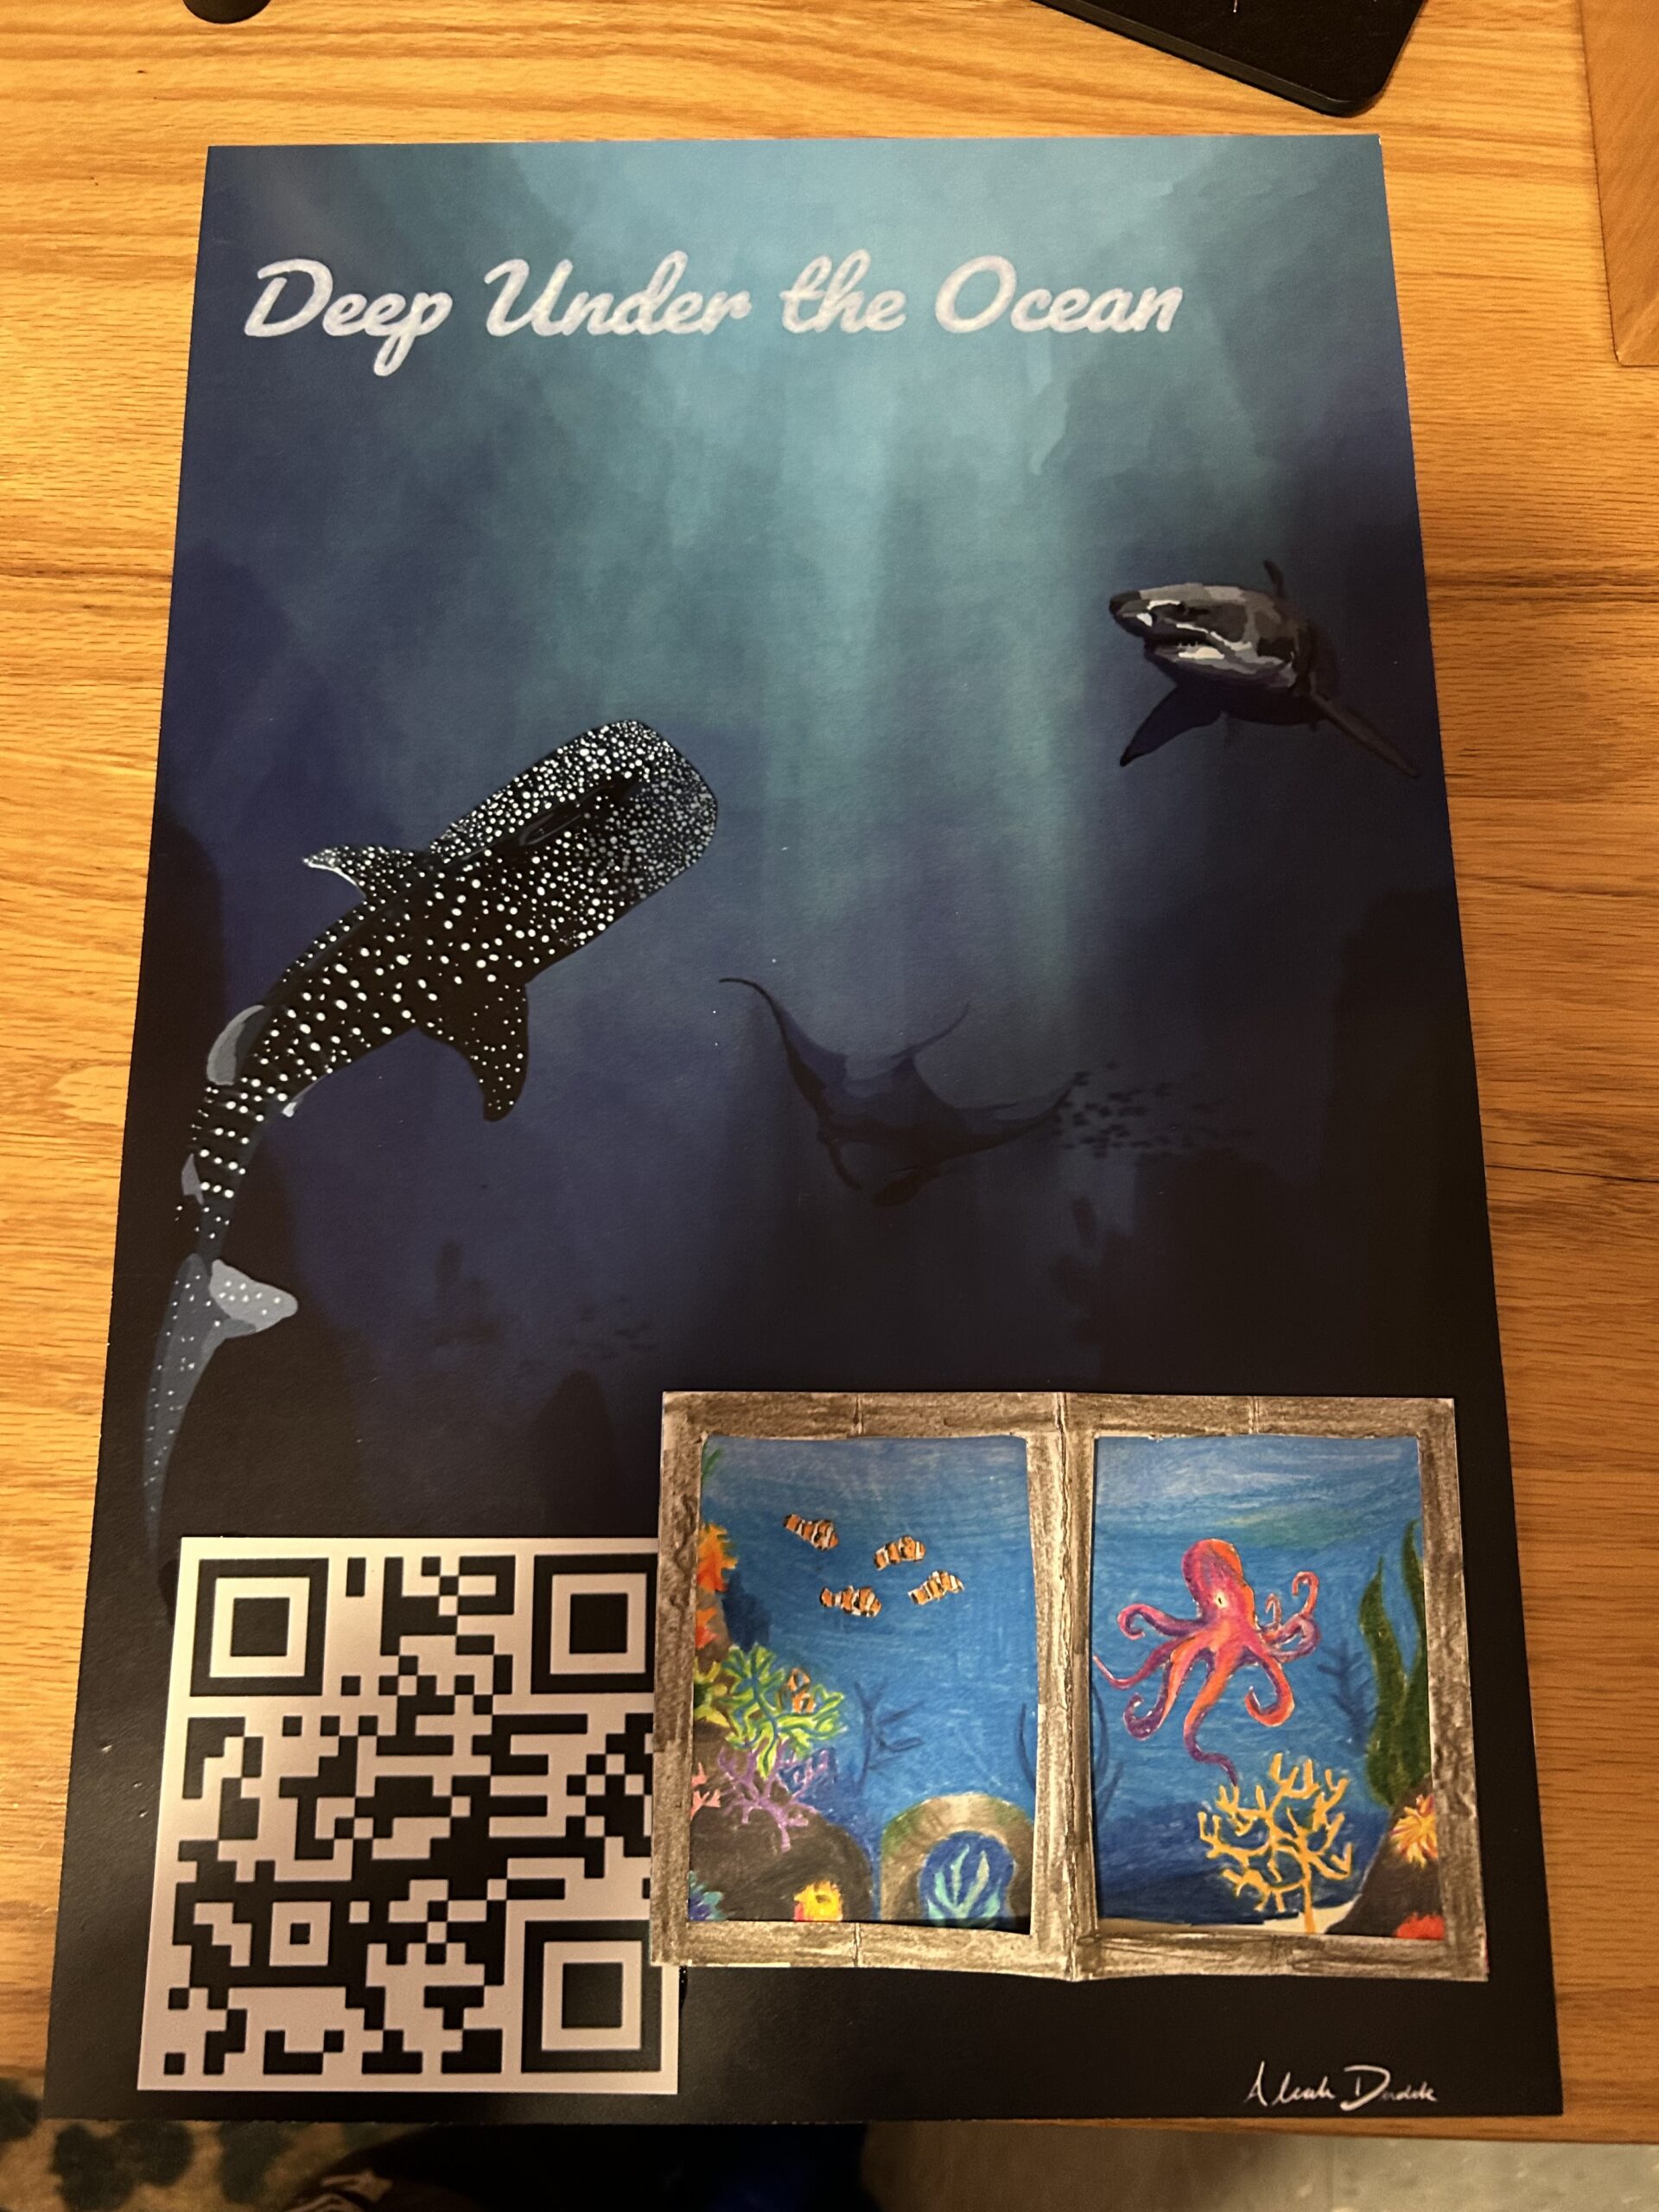
- Interactive Poster: I am really happy how this one turned out I liked the poster I designed a lot and the new program I learned. Zap works was super easy to use and I can’t wait to do more with it. My AR I am pretty proud of too it cam out clear and easy to use , was definitely fun.
- Interactive Narrative: I had a hard time coming up with this one and which way to go with it. I ended up making a clicking game to lead you to new goals the more you make. I used Scratch and was able to make a clickable cat with particles and upgrades. I want to take this project farther and use it possibly in game design 2 and add many other features and options to it.
Animation Finals
Poster:
file:///Users/sarahjuristy/Desktop/College%20+%20Univeristy/RMU/web-design/iceland.html
Interactive narrative:
file:///Users/sarahjuristy/Desktop/College%20+%20Univeristy/RMU/web-design/bugs-homepage.html
360:
file:///Users/sarahjuristy/Desktop/College%20+%20Univeristy/RMU/web-design/toy-box.html
Loop:
Interactive animation final
Loop Animation : https://rmu.andrewyames.com/wp-content/uploads/2025/10/Cat_Sleep_Animation_1_V2.mp4
Interactive Narration: https://scratch.mit.edu/projects/1254431991/editor
Interactive poster:
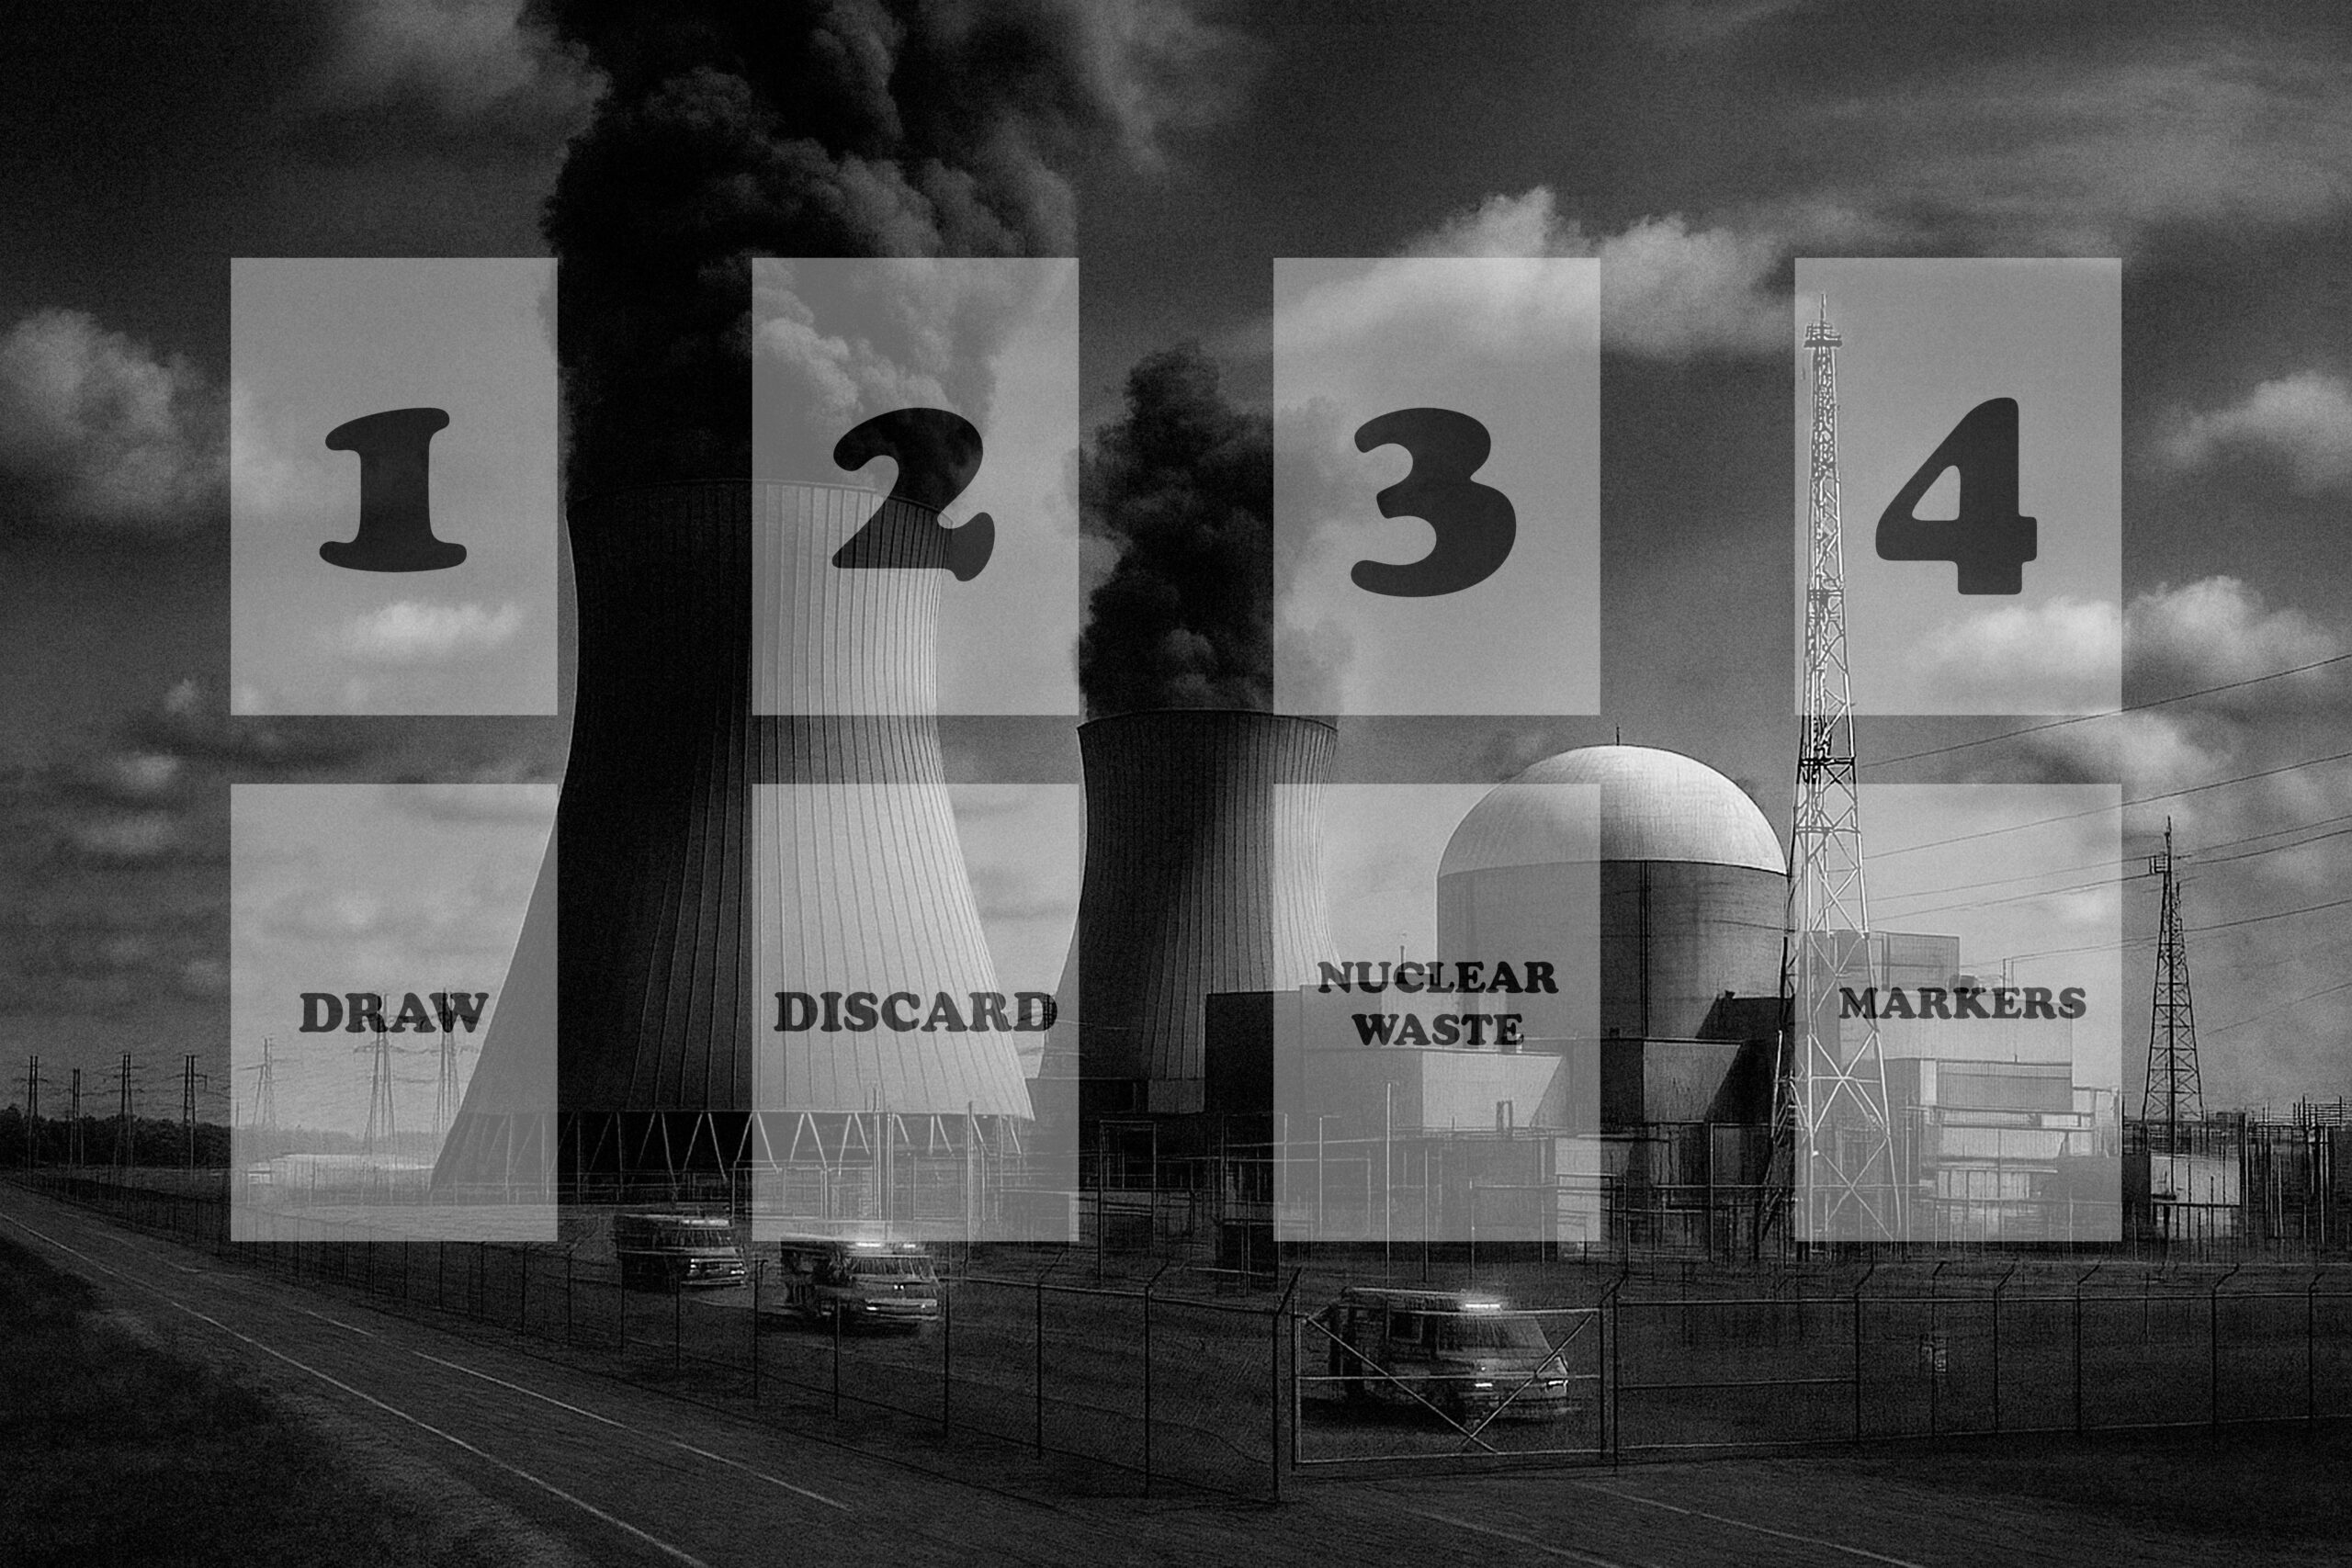
Reactor 21 Game Mat Design
This is the game mat design I chose for Reactor 21. The mat was created with the AI generated image as the backdrop, and the grid/text/mat sections were set up by me in Photoshop CC.